This review will cover the installation of SSD Cache on Synology DiskStation DS918+ using Samsung 960 Evo NVMe M2 1TB SSD and the performance gains it brings to the Synology DiskStation. For the review on the Synology DiskStation DS918+, please refer here. Before I begin, I would also like to thank friends at Synology for linking up with Samsung Asia and their kind gesture of making the two pieces of Samsung 960 Evo NVMe M2 1TB SSD available for this testing.
According to the specifications for Synology DiskStation DS918+ that you can find on Synology’s website, there are 2 M2 NVMe Drive Slots available on the Synology DiskStation DS918+. These 2 M2 Drives can be found and easily accessible at the bottom of the Synology DiskStation DS918+. There have been queries if these slots and the attached M2 Drives can be used to ask a storage volume rather than for caching. However, based on the findings and testing on the internet and including myself, any attached M2 Drives seems to only who up under the cache option of the Storage Manager and not as free assets to be configured as storage volumes. However, I strongly suspect that this is just a software constraint and hopefully Synology will open this up for use (and making the Synology DiskStation DS918+ into a 6 slot device) in the future.
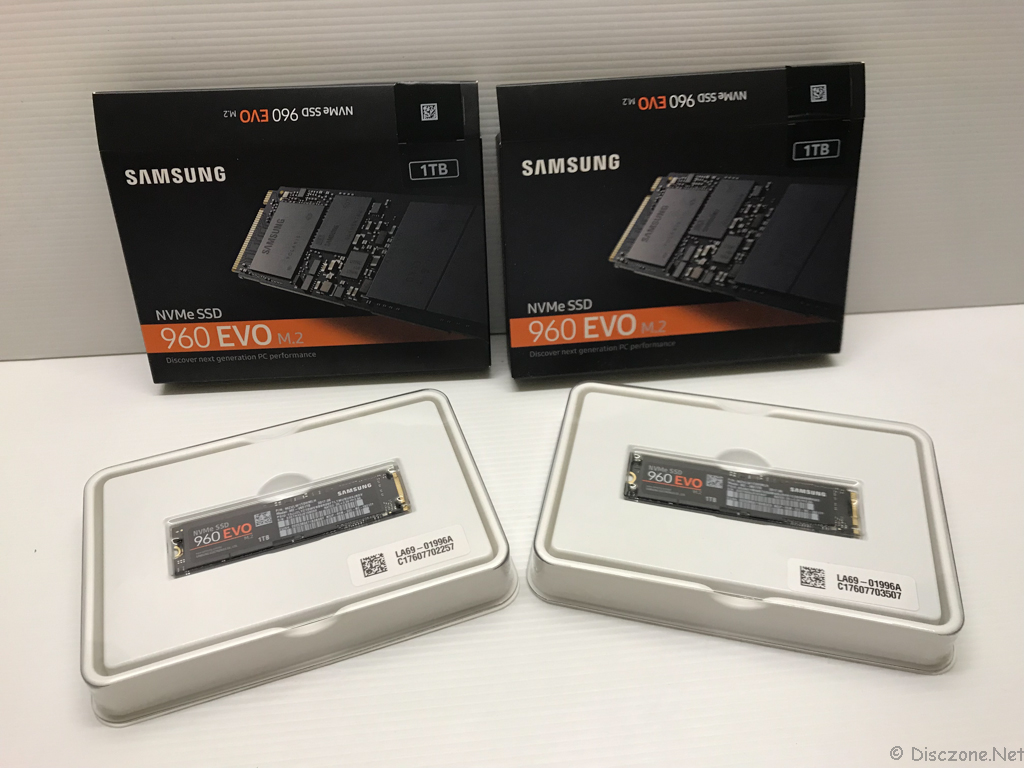
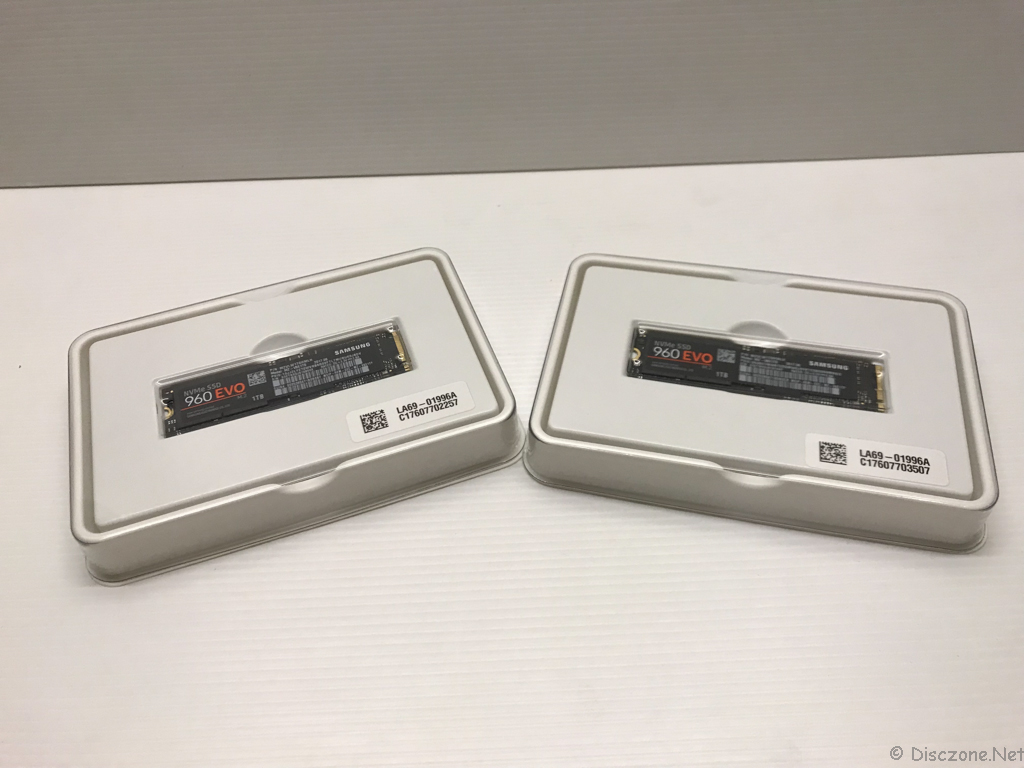
Now let’s take a look at the 2 pieces of Samsung 960 Evo NVMe M2 1TB SSD before I go into how my setup process and performance results are.

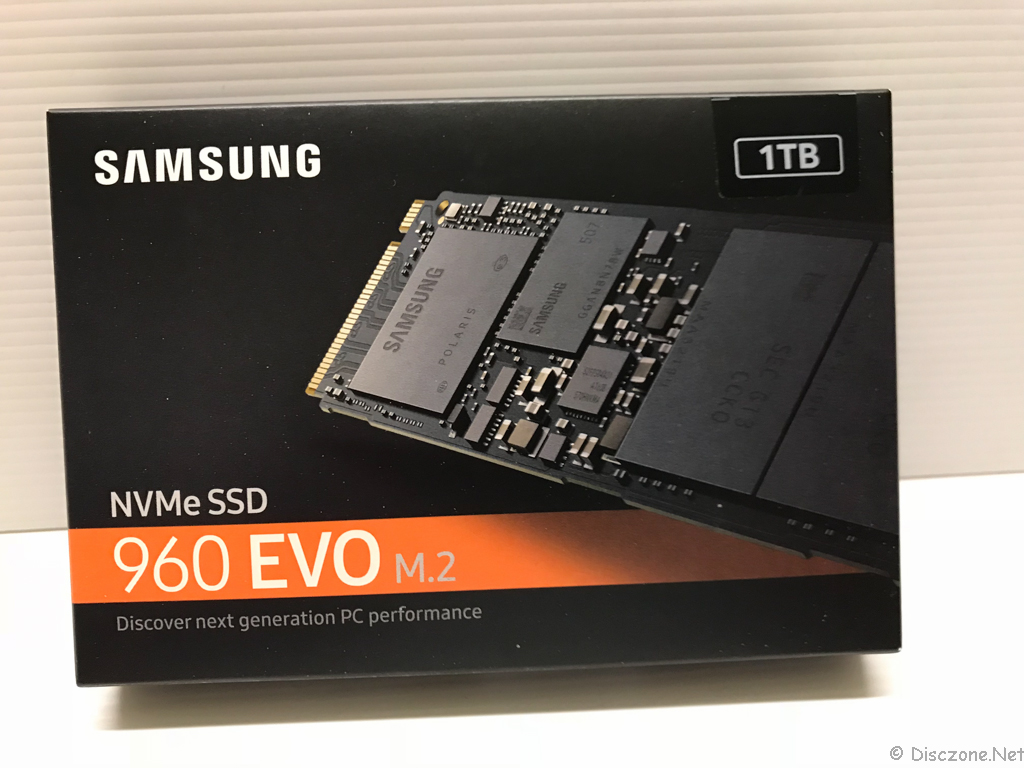
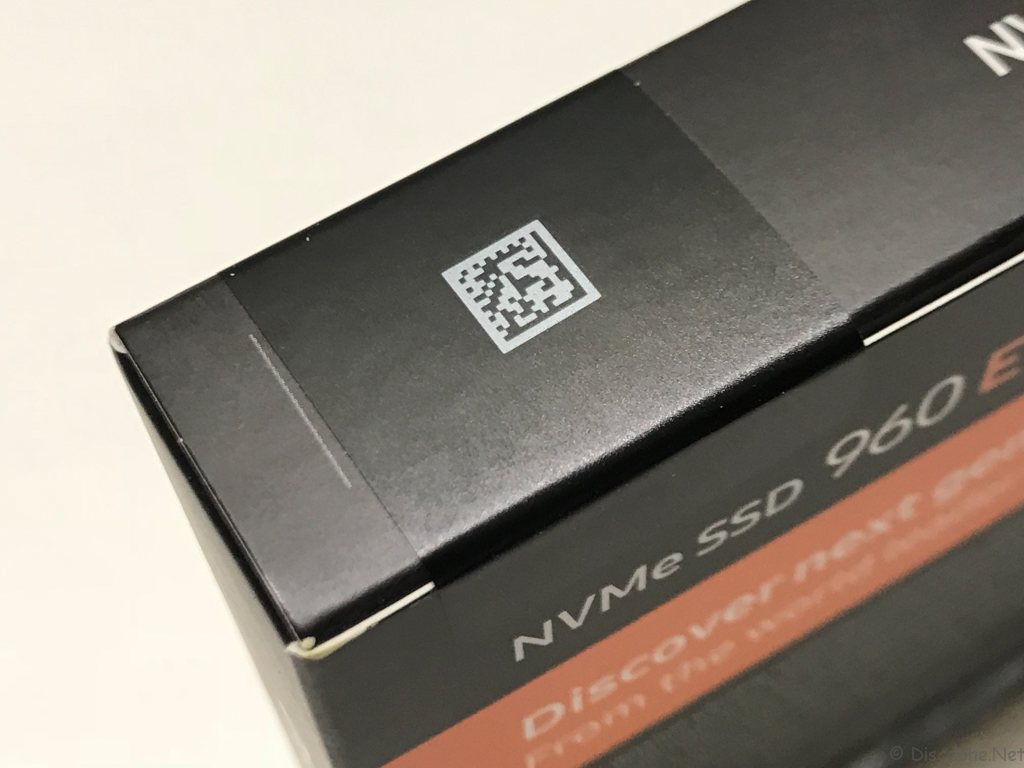
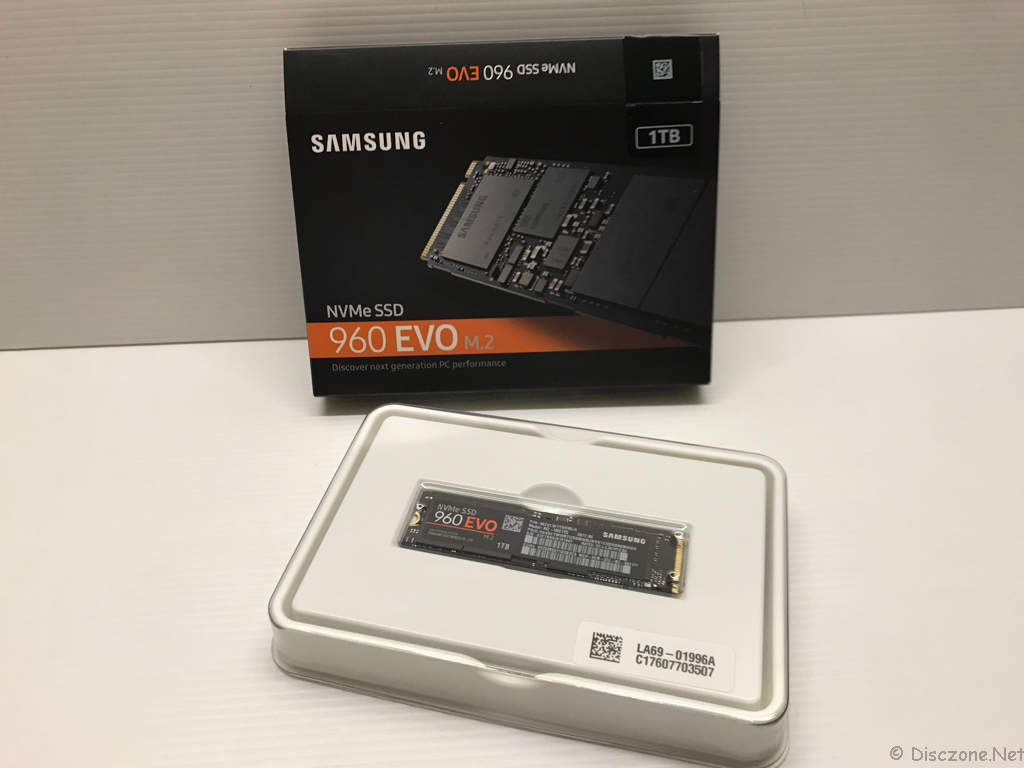
The packaging of the Samsung 960 Evo NVMe M2 1TB SSD is pretty sleek looking with its black background and eye-catching orange color highlighting the “960 EVO M2” wordings. Behind the box provides some marketing details of the product and highlighting that the Samsung 960 Evo NVMe M2 1TB SSD comes with a 3 years warranty period, which shows the confidence level of Samsung for this range of products.
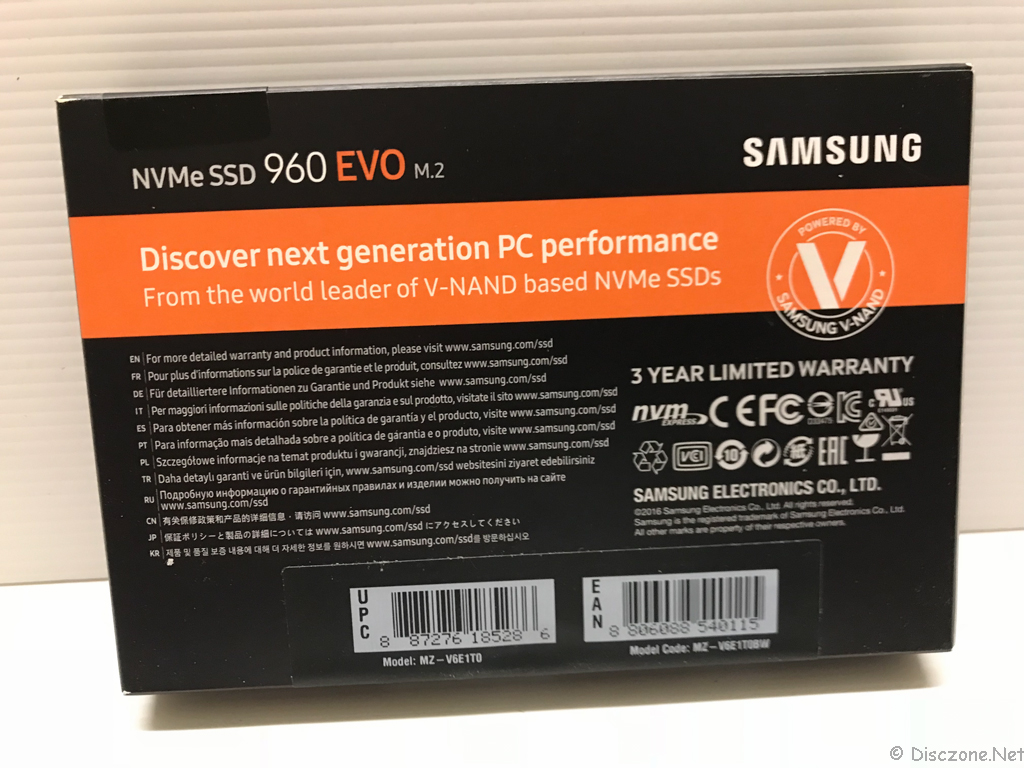
If you do purchase the Samsung 960 Evo NVMe M2 1TB SSD, please also take note of the seals at the flaps of the box to ensure that you have received a new and authentic item for your purchase.
Opening the side flaps of the box, out will slide a plastic tray with the Samsung 960 Evo NVMe M2 1TB SSD nicely tuck in the center. Given the small size of the M2 SSD compared to a normal 2.5″ SSD, there seems to be quite a bit of spare empty space in this design of this packaging. I’m assuming the purpose is to ensure that there is sufficient protection for the delicate M2 SSD.

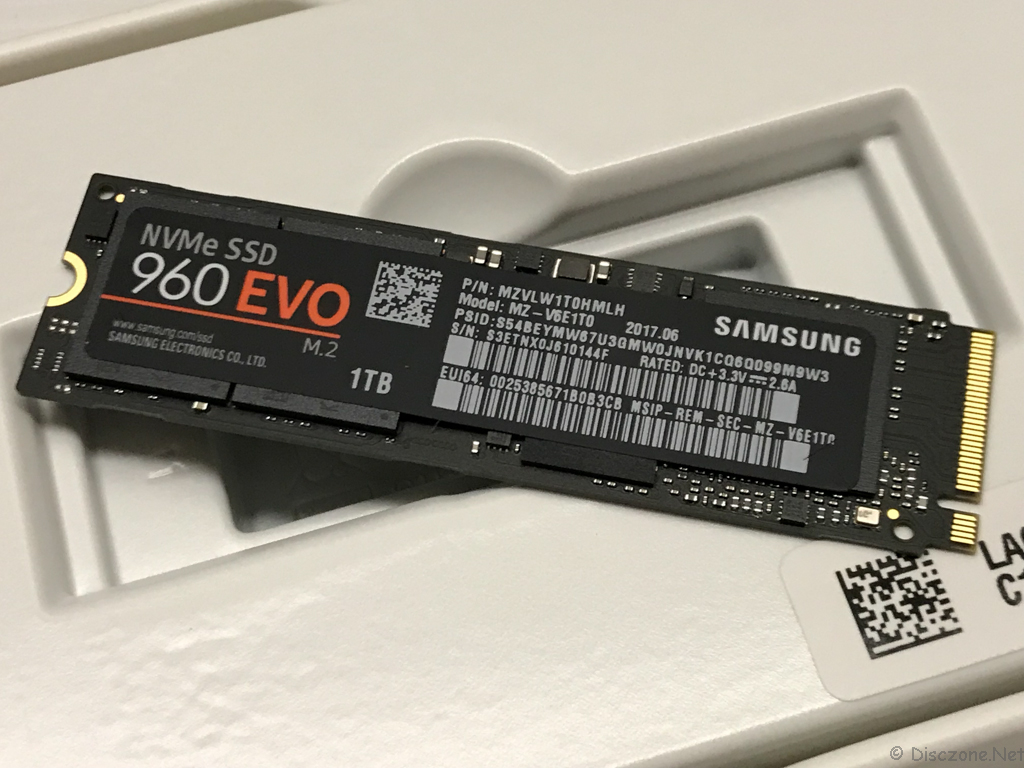
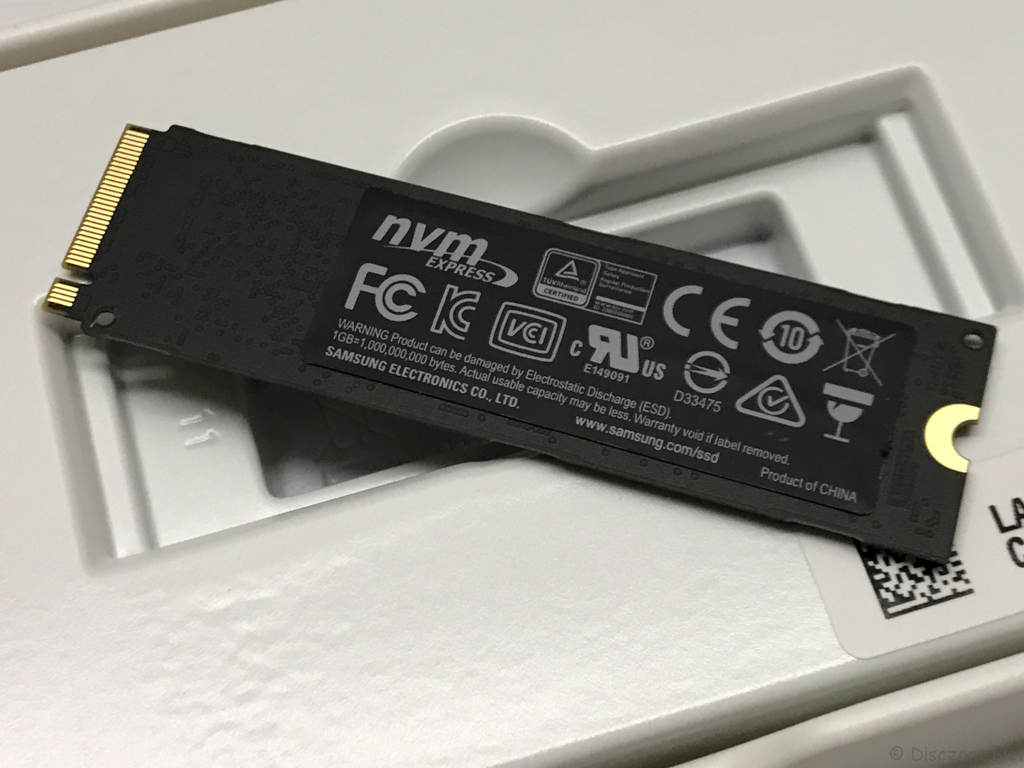
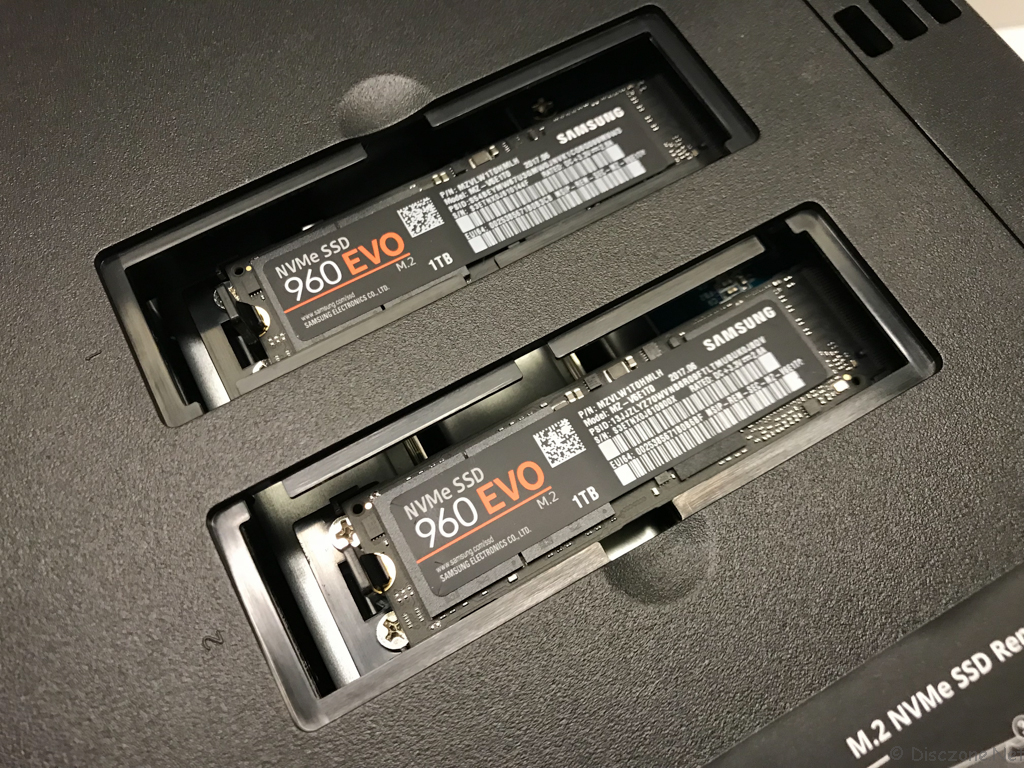
Taking a closer look at the Samsung 960 Evo NVMe M2 1TB SSD, you can see that memory chips and circuitry are mostly covered by the information labels at the front and back of the M2 SSD device.
To install the NVMe M2 SSD, we would need to flip the Synology DiskStation DS918+ around to access NVMe M2 slots. Once again, this is a tool-less installation process thanks to the good design by Synology. To remove the covers to the slots, just gently press on the notches and the covers should come out very easily.
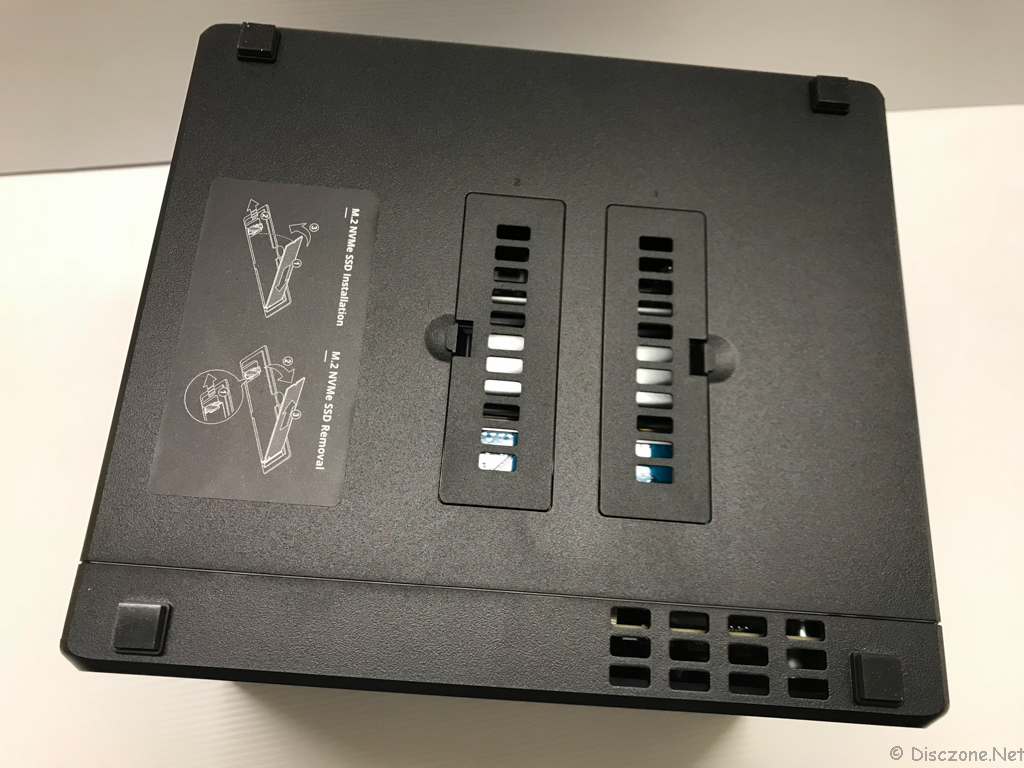
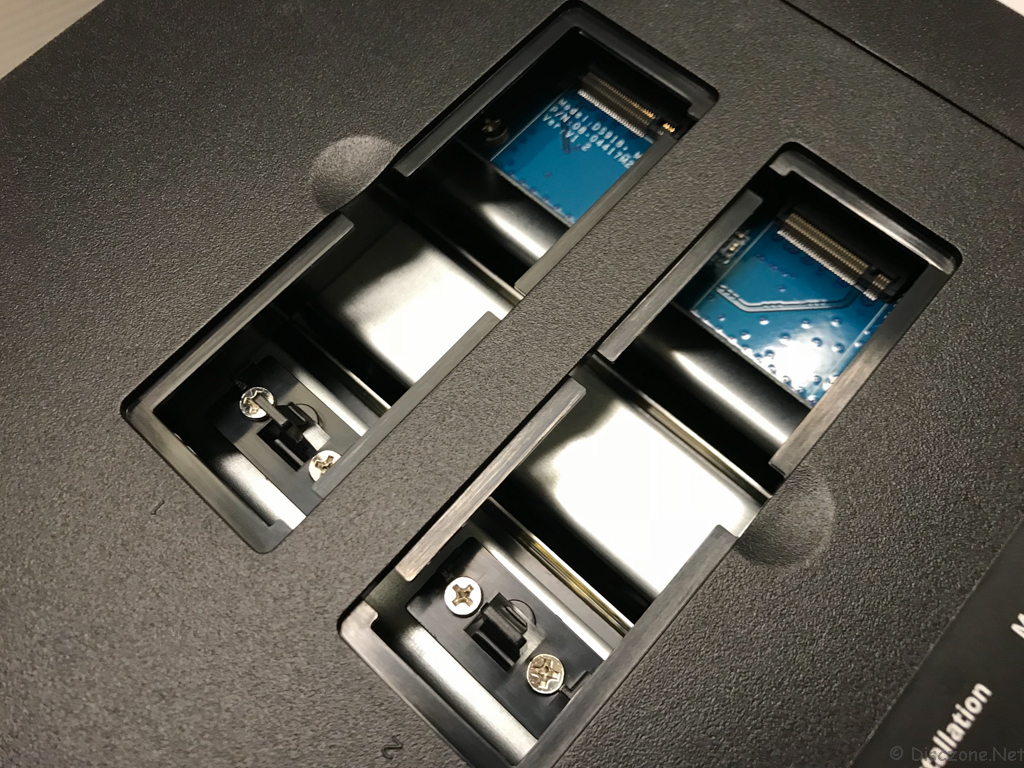
Synology has also nicely placed some reminder near the NVMe M2 slots to let users know that they would need to push back the retaining catch and also slot in the NVMe M2 SSD in at an angle when installing or removing the device. The slots are also labeled 1 and 2 just in case you are not populating both at one go and you will know which slot you are using.

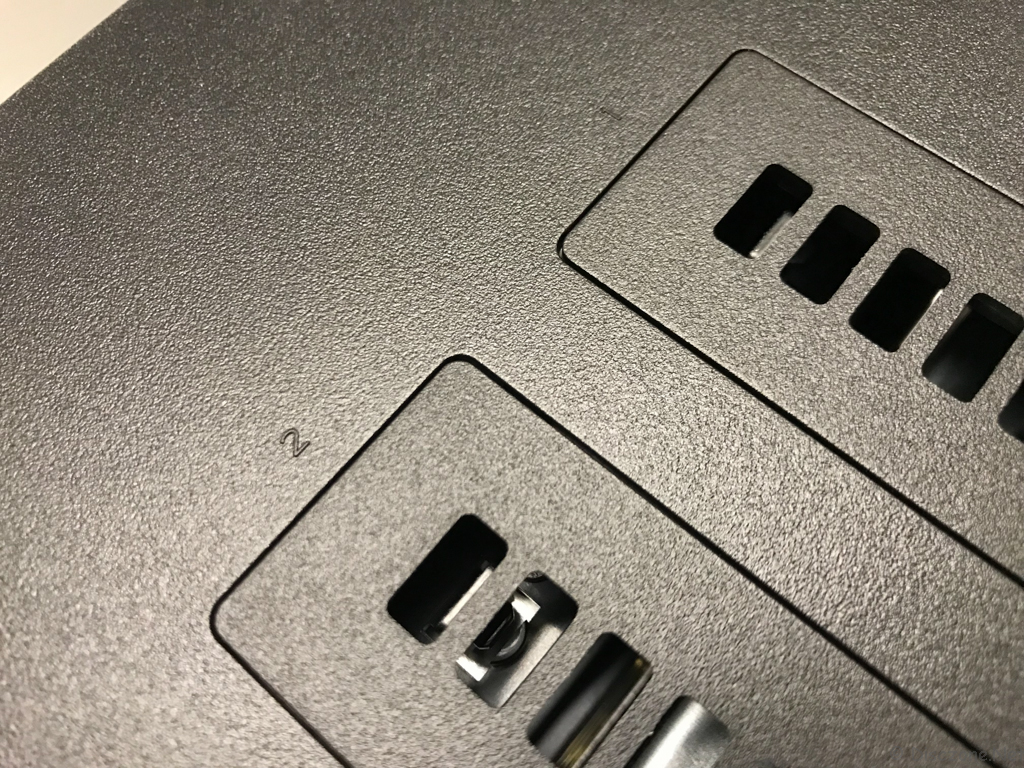
You can see the retaining catch on the left side of the slots and you will need to release them when installing or removing the NVMe M2 SSD device.


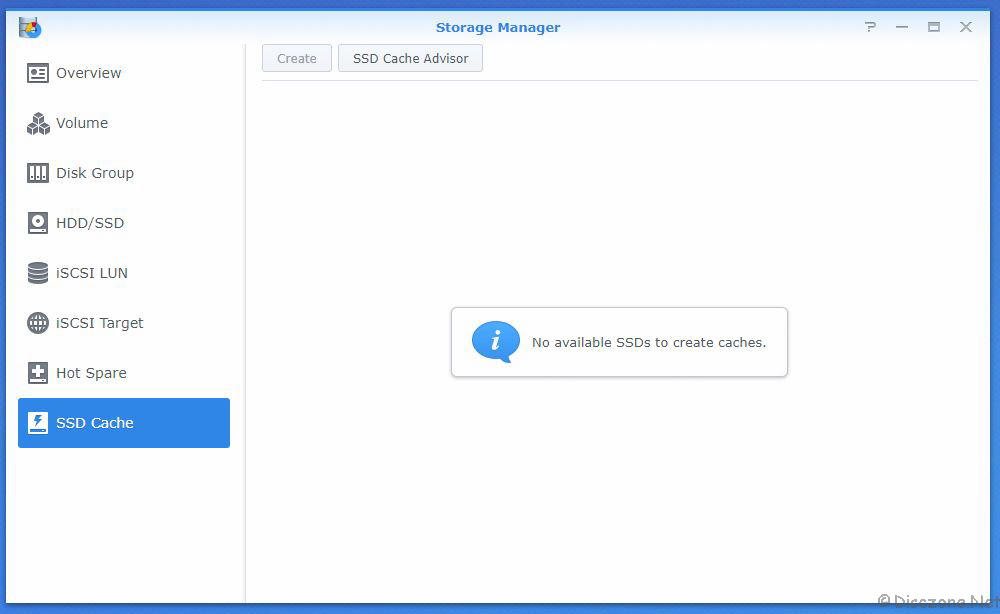
After completing the hardware portion, the next step is the software configuration. To set up the cache, launch the Storage Manager in DSM. Under the section on SSD Cache, you should see that currently, you don’t have any available SSDs to create caches. Before we go ahead and create our SSD Cache, let’s check out the SSD Cache Advisor feature in the Storage Manager.
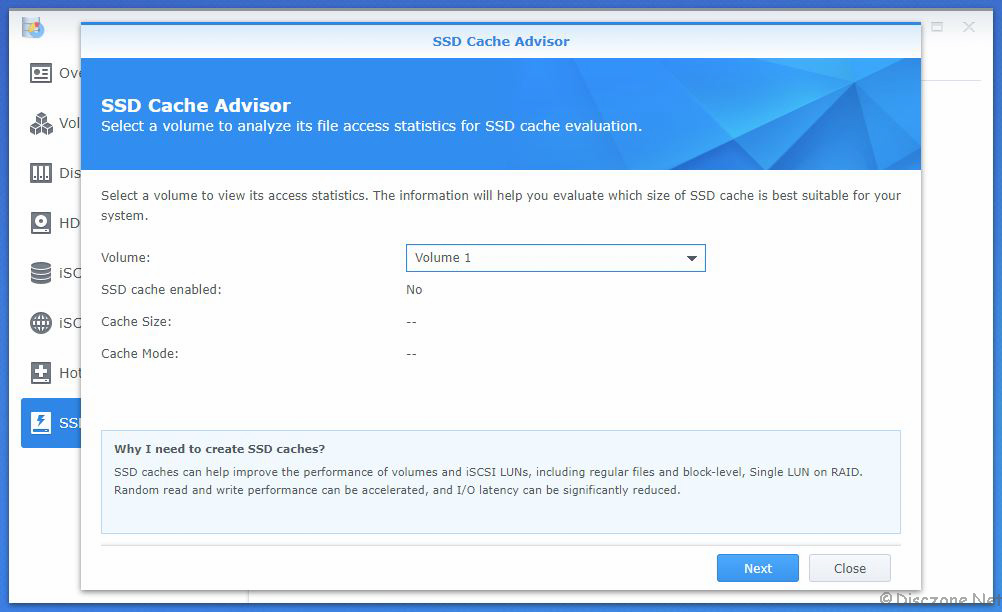
The SSD Cache Advisor is a feature to evaluate what type and size of SSD cache you will need to better run your Synology volumes. In my case, as I only have one volume, let’s put it to the test prior to the creation of any SSD Cache.
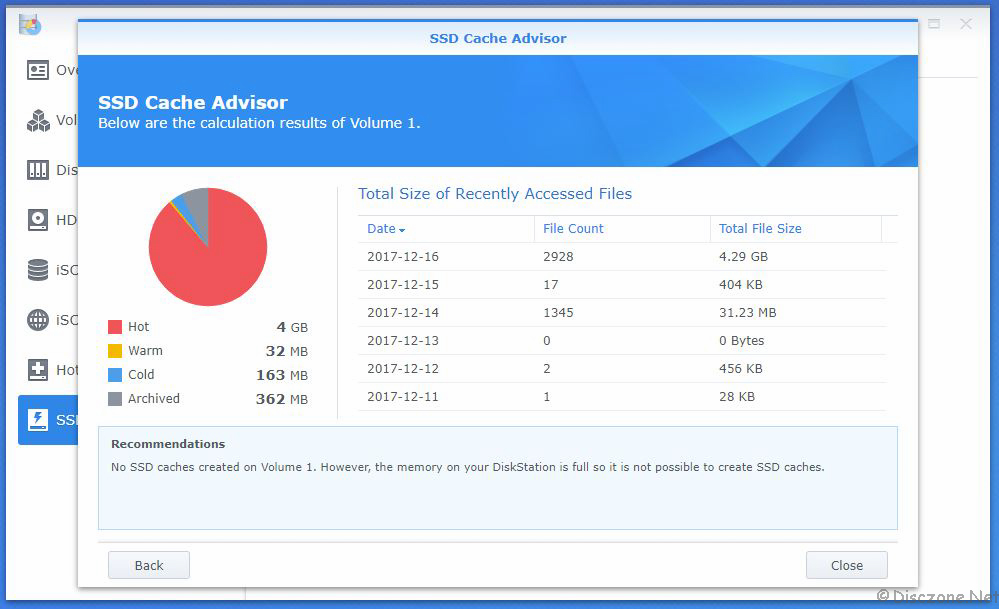
Based on the results generated, it says that I would need a 4GB SSD Cache as much of my storage is in the ‘Hot’ area. Hmm… 4GB of SSD Cache.. This means my two pieces of Samsung 960 Evo NVMe M2 1TB SSD are seriously overkill. 😀 Nevertheless, at least the SSD Cache Advisor seems to be working as it should be.
Moving on, let’s create our SSD cache volume. At the Info Center of DSM’s Control Panel, we should see that the 2 Cache devices are successfully installed and ready for use. At this point, one should note that these two devices are immediately recognized as Cache Devices and not normal Disks, meaning that they are not available for other usages besides being an SSD Cache.

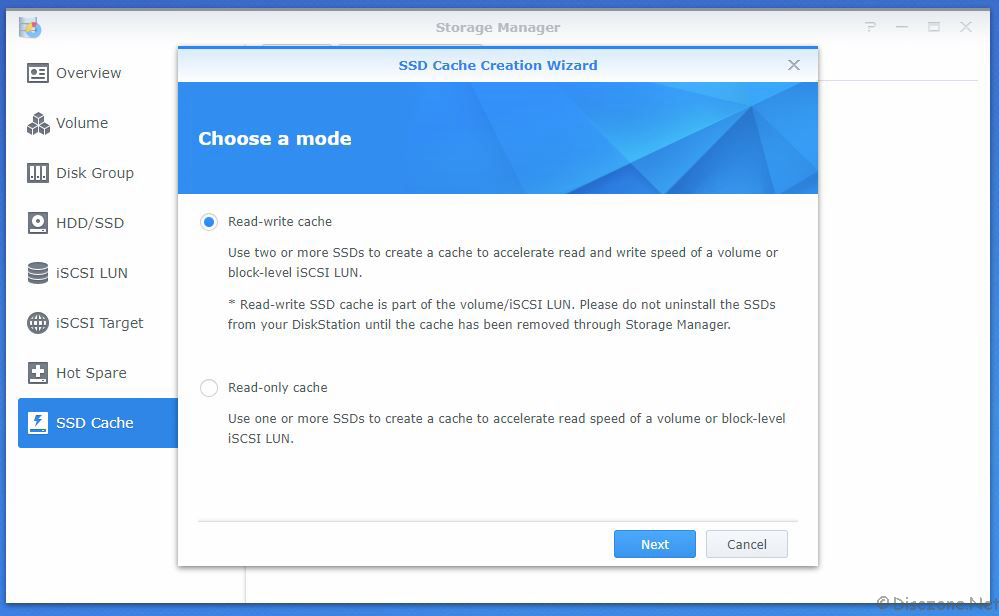
Going back to the Storage Manager, let’s proceed to create an SSD Cache via the SSD Cache Creation Wizard. You will first have to decide between a Read-Write Cache or just a Ready-Only Cache. Please note the main difference between them is that any data on a Read-Write Cache yet to be written to permanent storage may be lost should there be any disruption during that period. Hence, if your NAS is mission-critical, do consider using a Read-Only Cache.
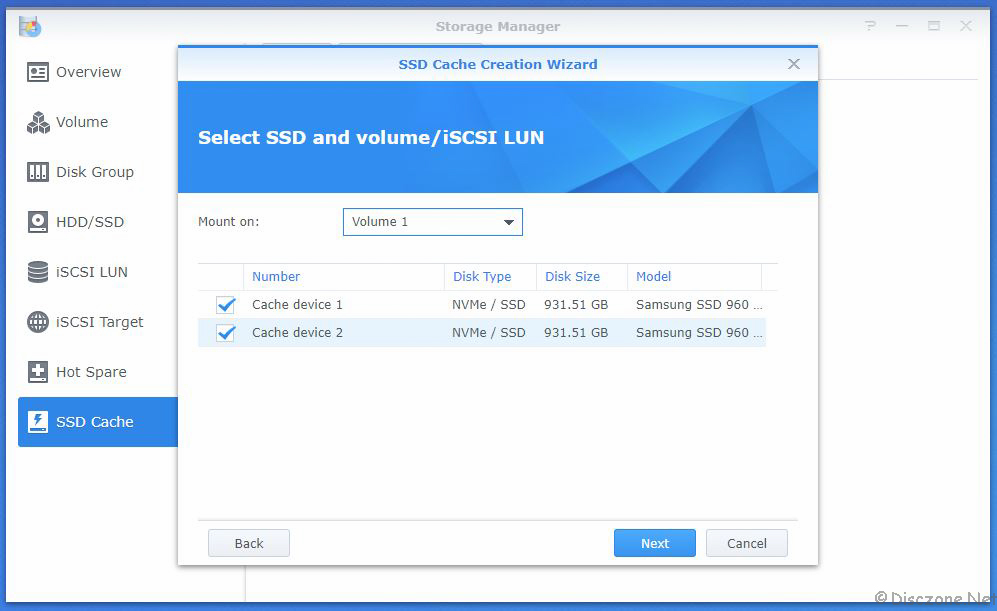
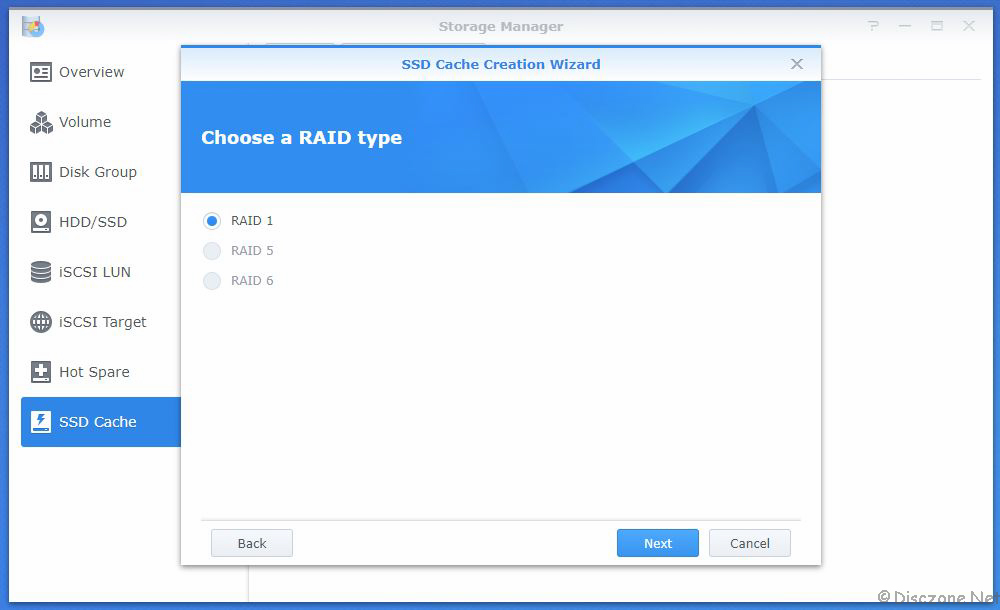
After deciding on the mode of the cache, you can select to use one or both SSDs as your cache device. In my case, I’ll just pick both, put them on RAID 1, and using the maximum capacity as the SSD cache volume.
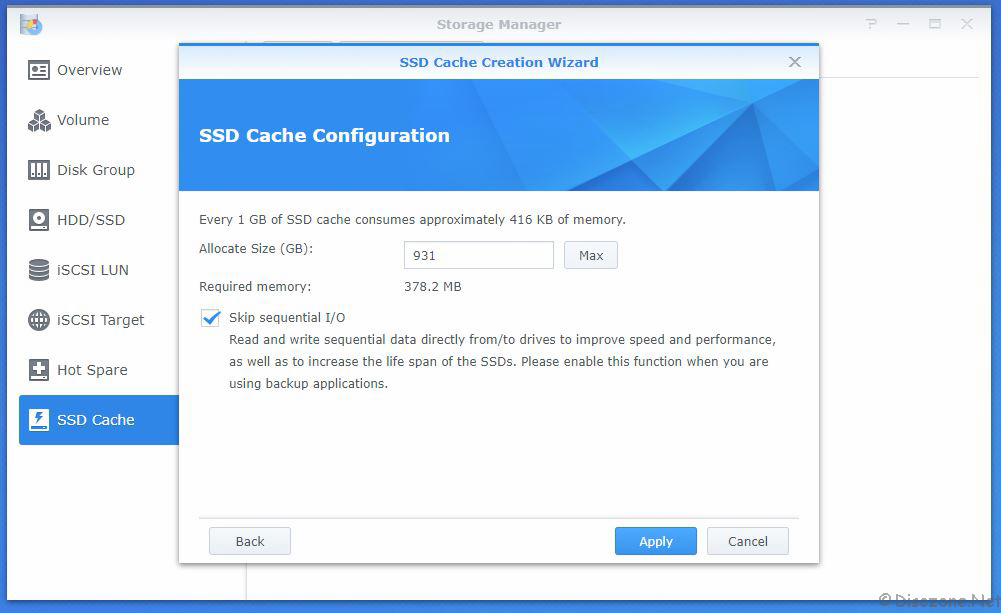
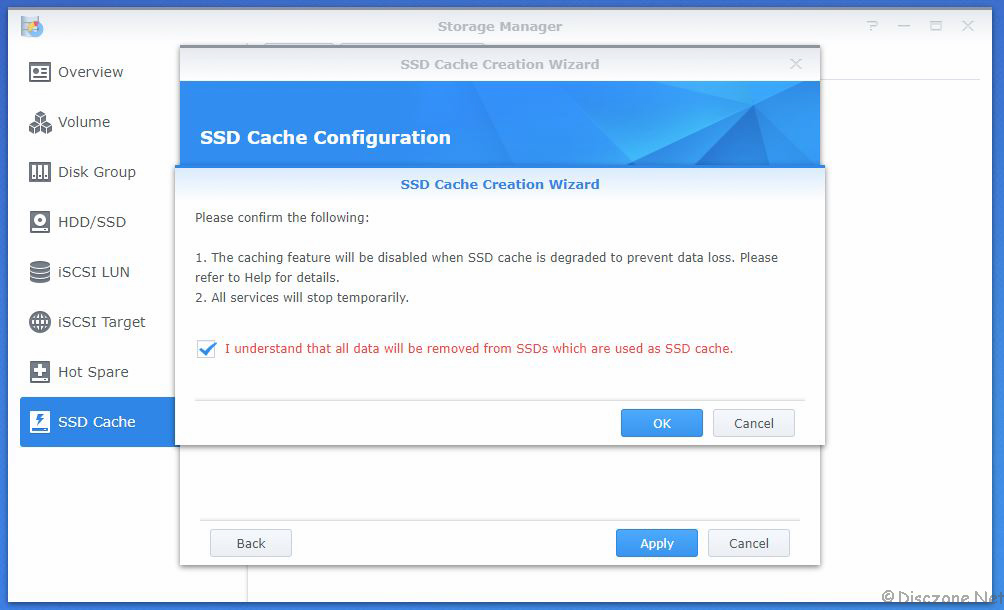
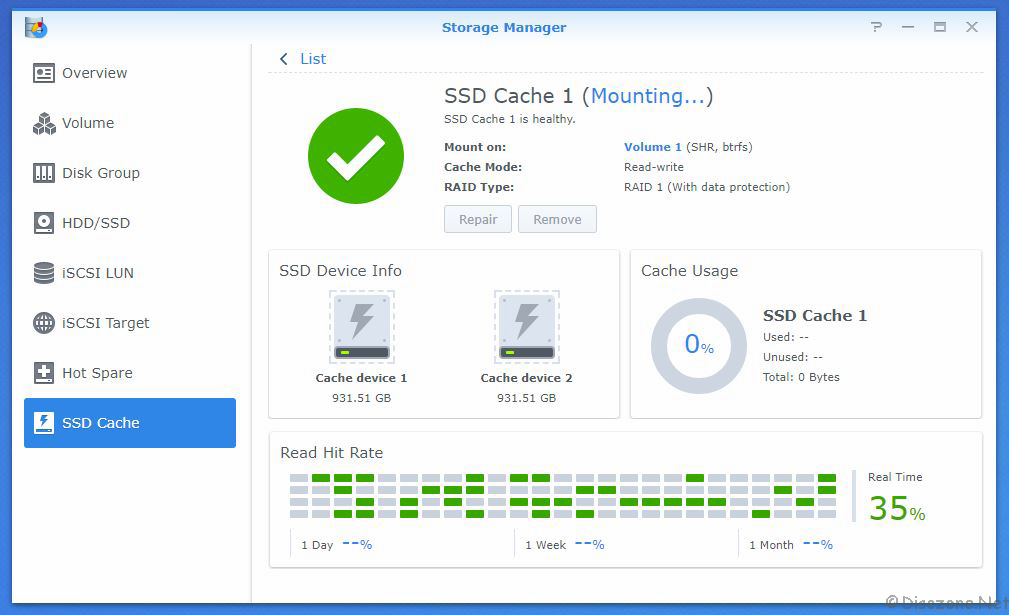
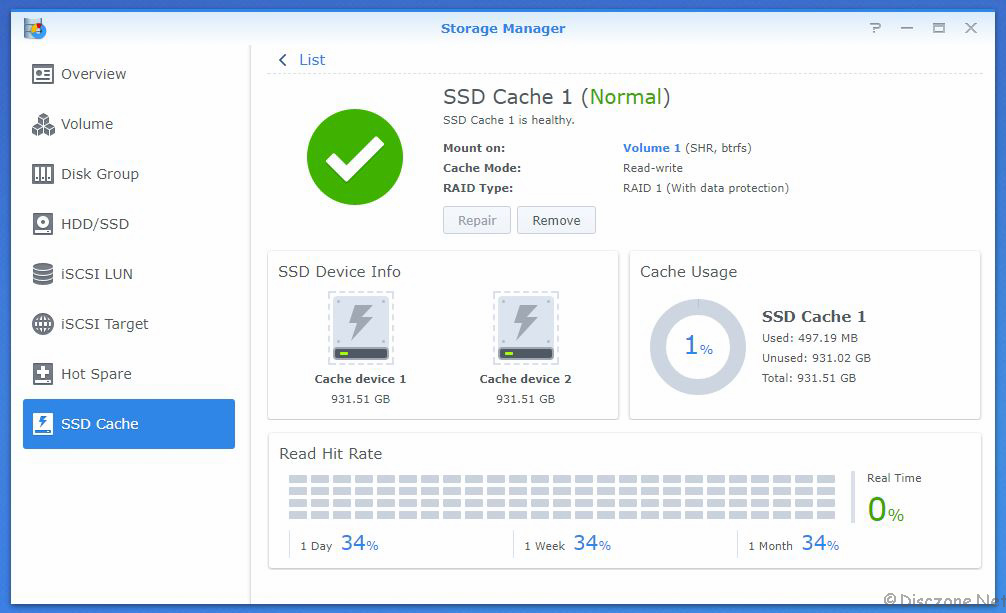
Upon confirmation of the creation, the system will create and mount the cache within a 10 minutes process. Once the SSD Cache device is created and mounted, you will be able to see the performance and utilization of the SSD Cache in real-time in the Storage Manager.
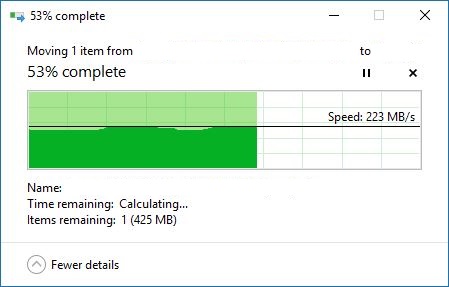
After leaving the system to run over a few days with the SSD Cache, I start to notice that the windows file copy functions, especially writing, seems to speed up by a lot. Previously I was only running around the region of 120MB/s but I could reach in excess of 200 MB/s now. But of course, this only will have a bigger effect if you are doing massive numbers or large size file operations with the NAS.
The M2 NVMe Drive Slots on the Synology DiskStation DS918+ provide Synology users with a reasonable option to enhance their Synology set up to better support higher loads requirements without having the need to keep upgrading their investments. With a pair of SSD devices as cache, the DS918+ will be able to sustain at least 50% more I/O load without much impact on its CPU or memory. This approach will be more beneficial to Small to Medium Enterprise setups. On the other hand, for consumers or prosumers, having the SSD cache may be overkill. It would be useful if Synology would allow the M2 NVMe Drive Slots devices to be used as normal disks slots so that they will not otherwise be a white elephant to the users. One last point, the Samsung 960 Evo NVMe M2 1TB SSD are really a pair of wild beast by themselves. You should consider using them as your boot devices on your PC or laptop if you want to see a sub 10 seconds windows boot up. 🙂