This is the first of a series of reviews of SwitchBot products. I’ll start with the SwitchBot Hub Mini and SwitchBot Bot to showcase the basic operating concepts and capabilities of the SwitchBot products before moving on to the rest of their products. All these reviews are made possible thanks to SwitchBot for sending their products over for me to test.
Introduction
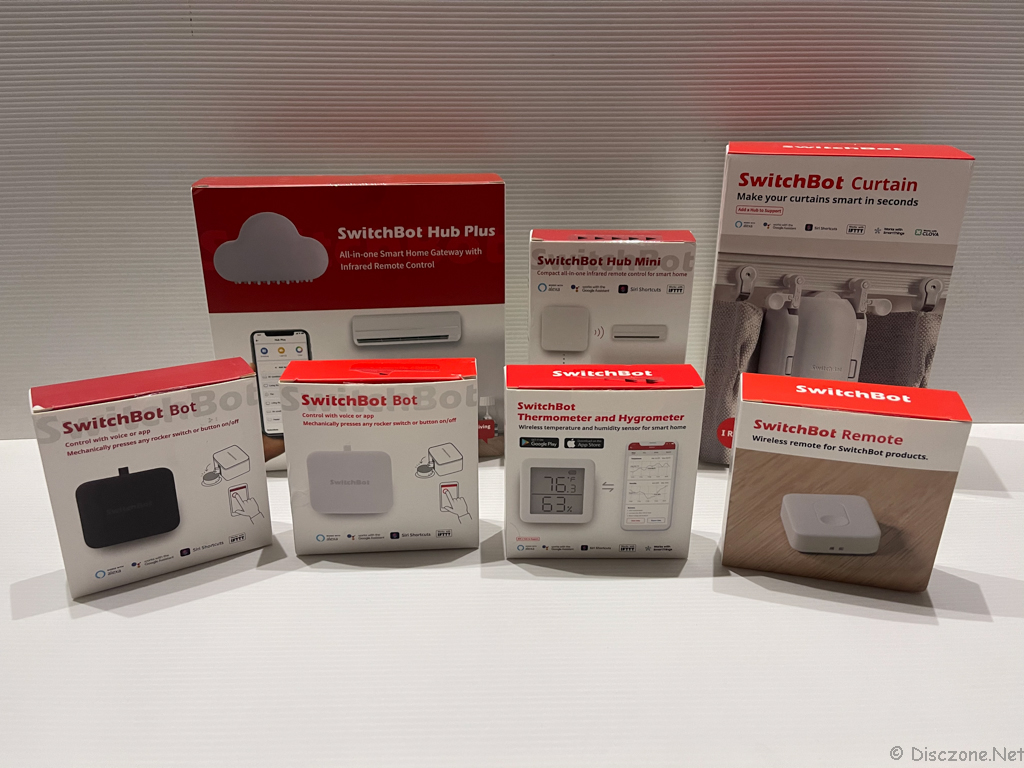 SwitchBot Product Family
The SwitchBot products started with the SwitchBot Bot and Hub on KickStarter back in 2016. Their design concept has been to “upgrade” and not “replace” to be on the Smart Home journey. Hence, the SwitchBot Bot is something that complements your existing switches and not having to mess with any wiring or replacement of the switches. In fact, to use SwitchBot products, you will only need your phone and its BlueTooth connectivity. Only if you need or wish to control your SwitchBot products via the internet then you will require the Hub Plus or Hub Mini to bridge between the SwitchBot devices and the internet.
Moving from the Hub and Bot, the SwitchBot family has grown to include other things like Thermometer and Hygrometer, SwitchBot Remote, and the latest SwitchBot Curtains. The new SwitchBot devices now also come in 2 colors, black and white to better compliment your household items the SwitchBot needs to interact with.
Hardware
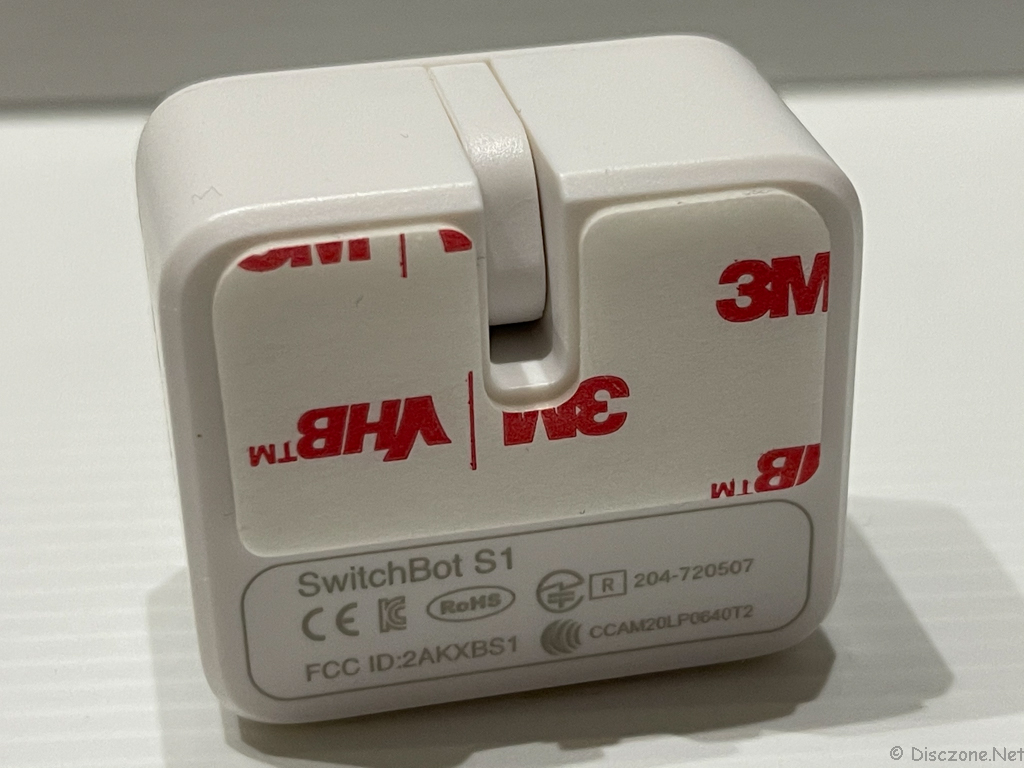
Now let’s start with the simplest configurations of the SwitchBot product family that will help you with your first step to home automation, the SwitchBot Hub Mini and the SwitchBot Bot. The SwitchBot Hub Mini is a smaller version of the SwitchBot Hub Plus (the one that looks like a cloud). It works much like its bigger brother except for the fancy light and AC to DC adapter. Frankly, feel that the SwitchBot Hub Mini is better as it is more compact and is USB-powered, making it easily deployed at any location that can support a USB connection. In terms of features, both SwitchBot Hubs support Infrared connectivity up to 30m or 100 feet with line of sight, Bluetooth and WiFi (2.4Ghz) connectivity, App and Scheduling control, and Home Automation support from Amazon Alexa, Google Assistant, iOS HomeKit, and IFTTT. Let’s take a closer look at the SwitchBot Hub Mini.
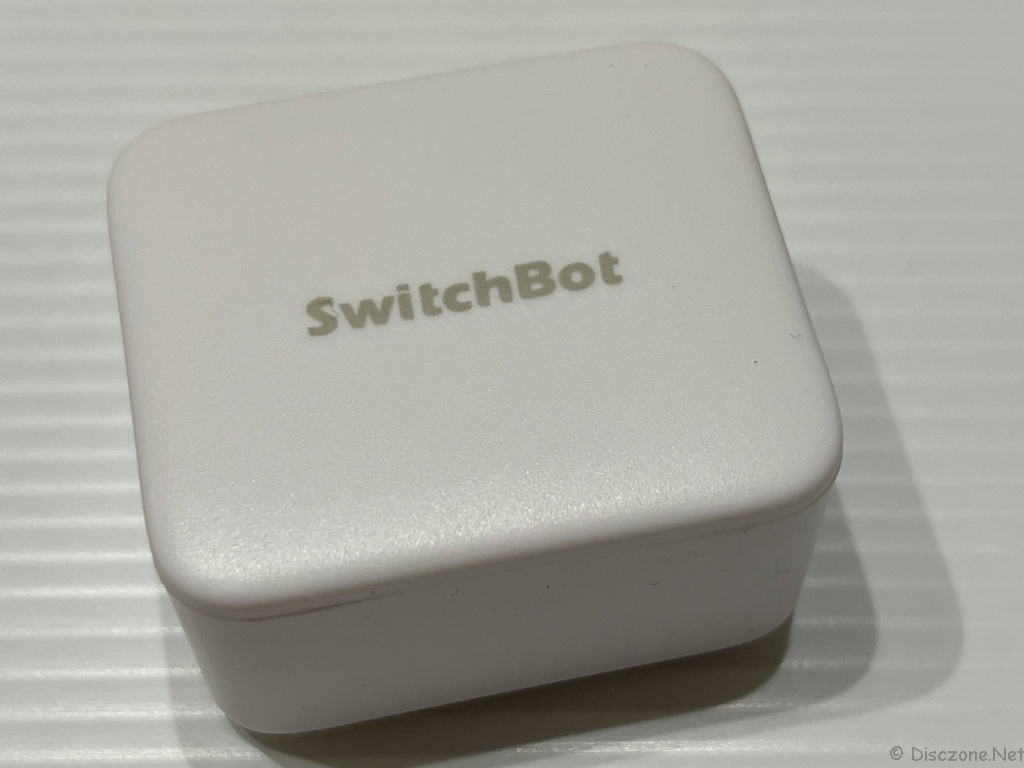
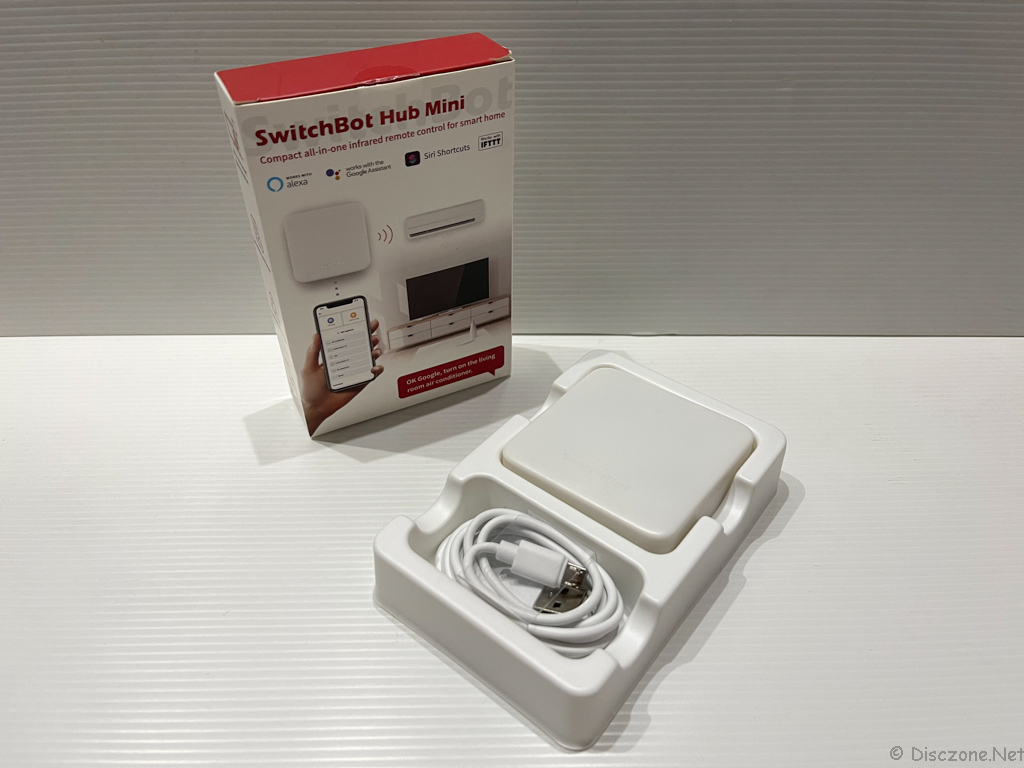 SwitchBot Hub Mini – Box and Contents
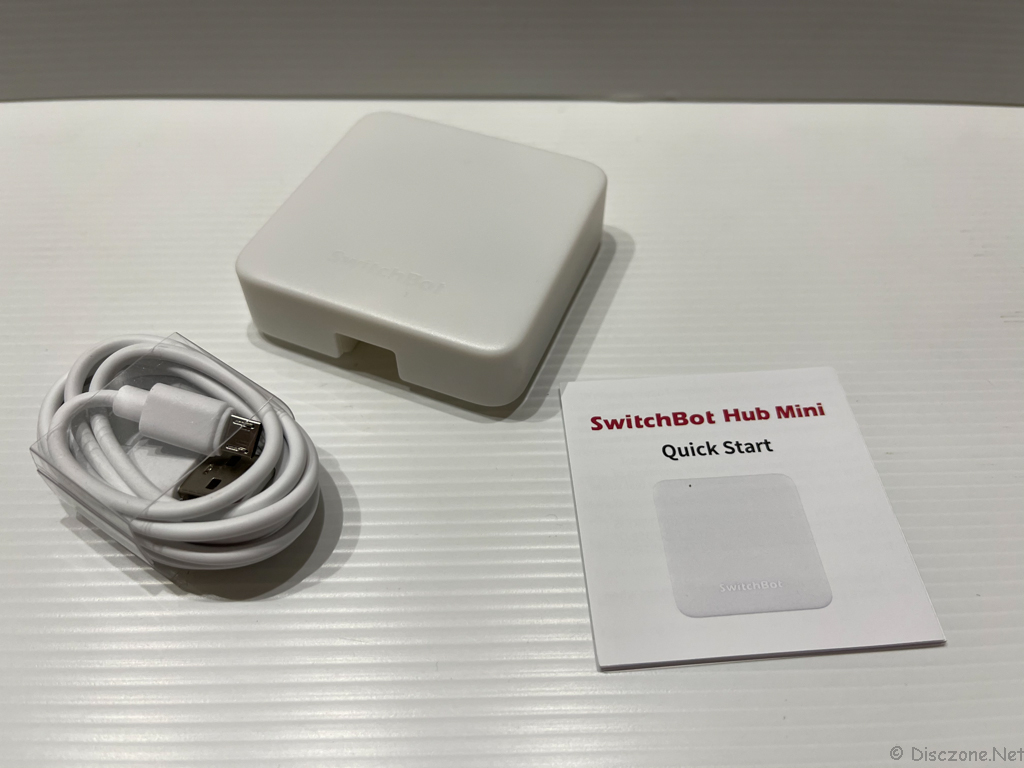 SwitchBot Hub Mini, Quick Start Guide and Micro-USB Cable
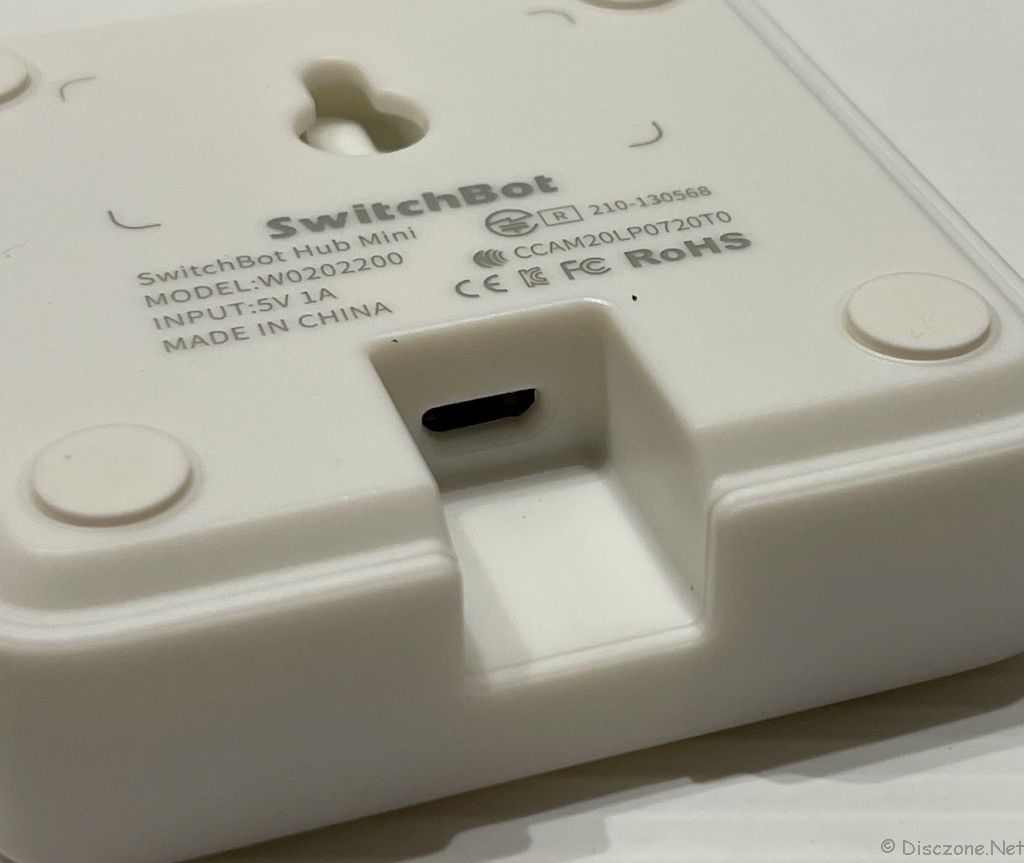 SwitchBot Hub Mini – Micro-USB Port
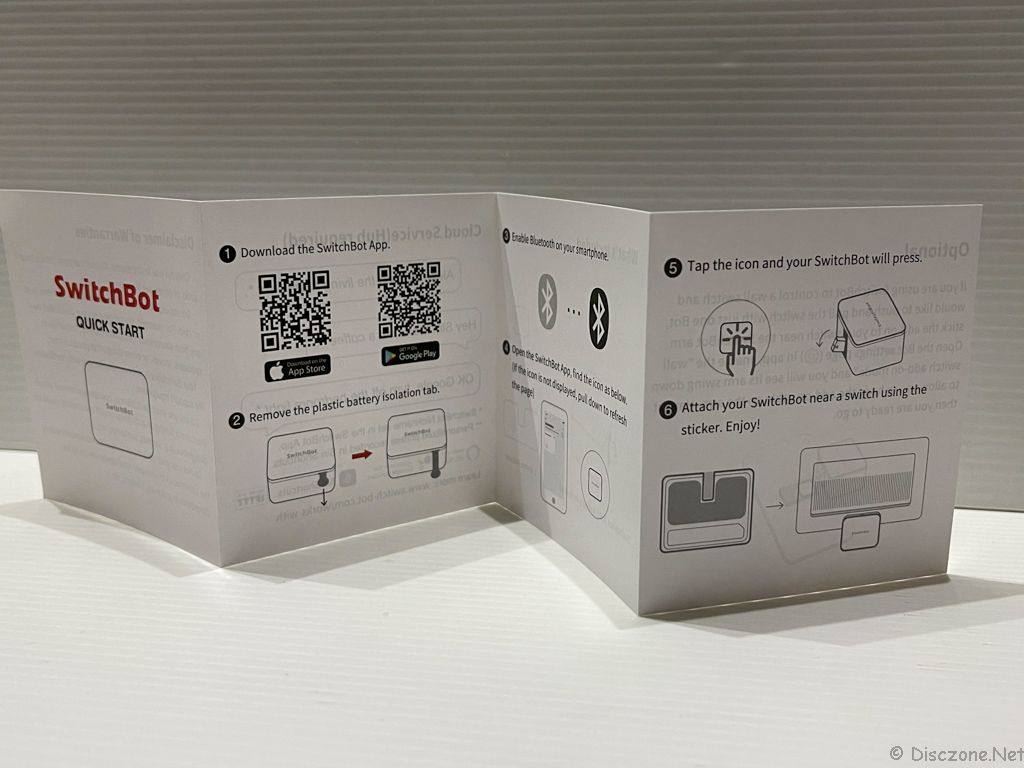
As for the SwitchBot Bot, it all started with a simple white-colored SwitchBot Bot in the original campaign. Recently SwitchBot also released a black version of the Bot so that it can be installed looking for “integrated” with its surrounding environment. Inside the box, the SwitchBot Bot comes with a simple startup guide and some specially cut 3M stickers. The bigger 3M stickers are for mounting the SwitchBot Bot onto the appliance or device you want the Bot to “click” or press. The smaller piece of 3M sticker has a plastic thread attached to it and it’s for the Bot to “pull” onto the switch to “retract” the physical switch into its original “off” position. Let’s now take a look at some pictures of the SwitchBot Switch.
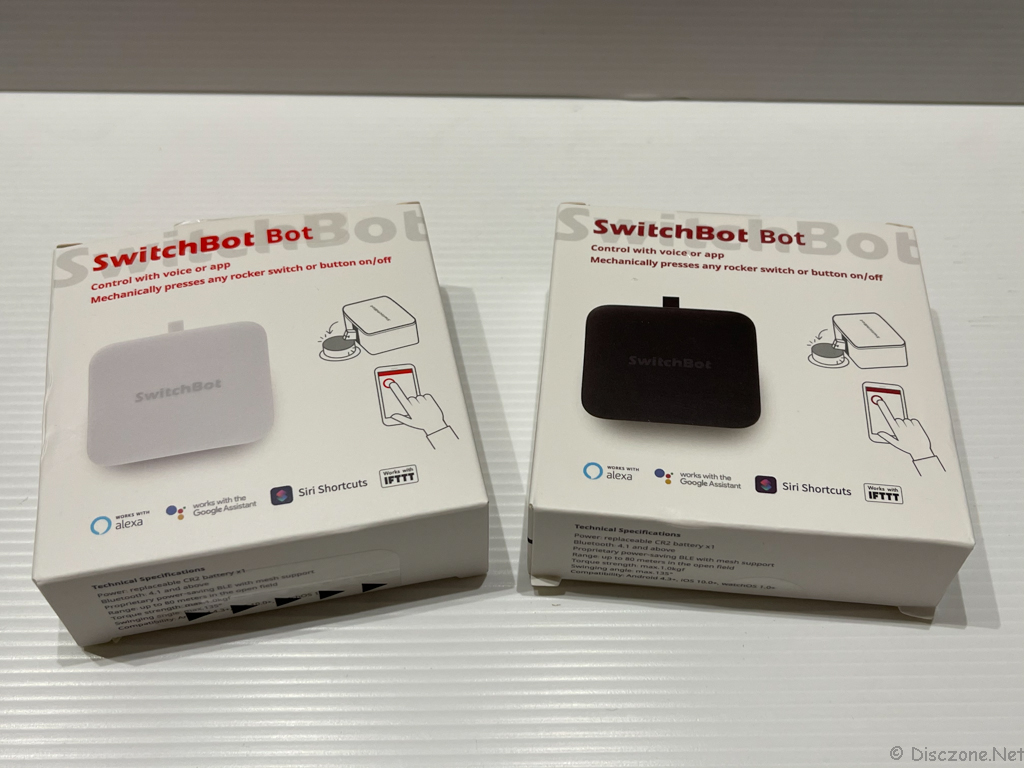 SwitchBot Bot – Black and White versions
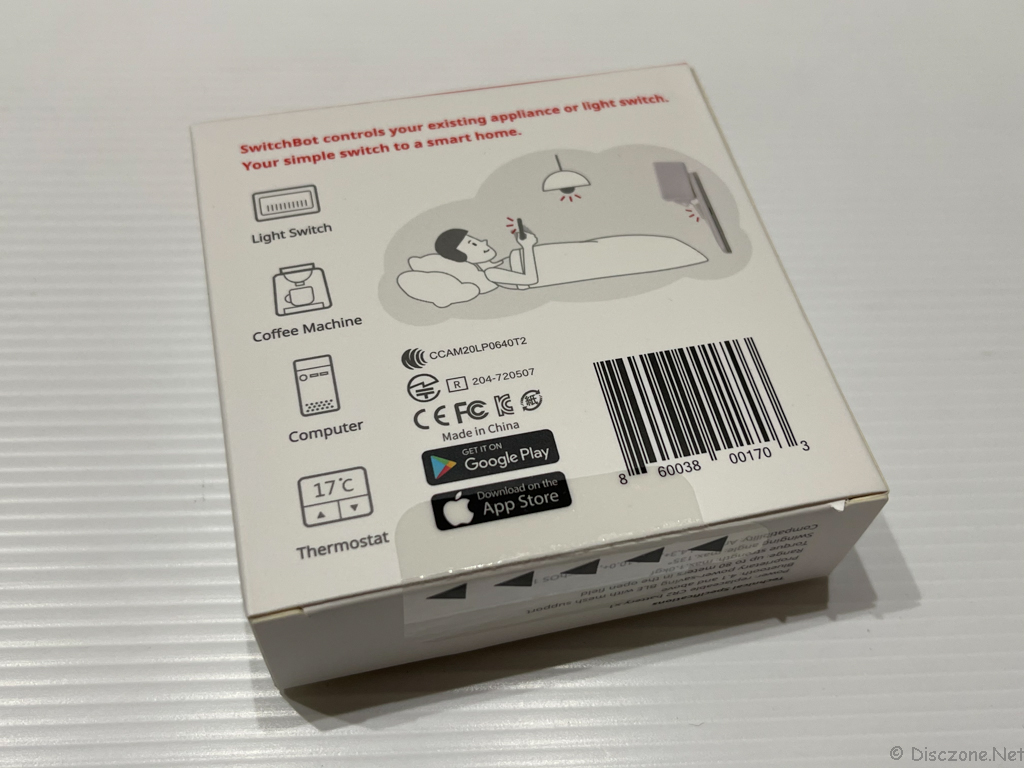 SwitchBot Bot – Box Rear
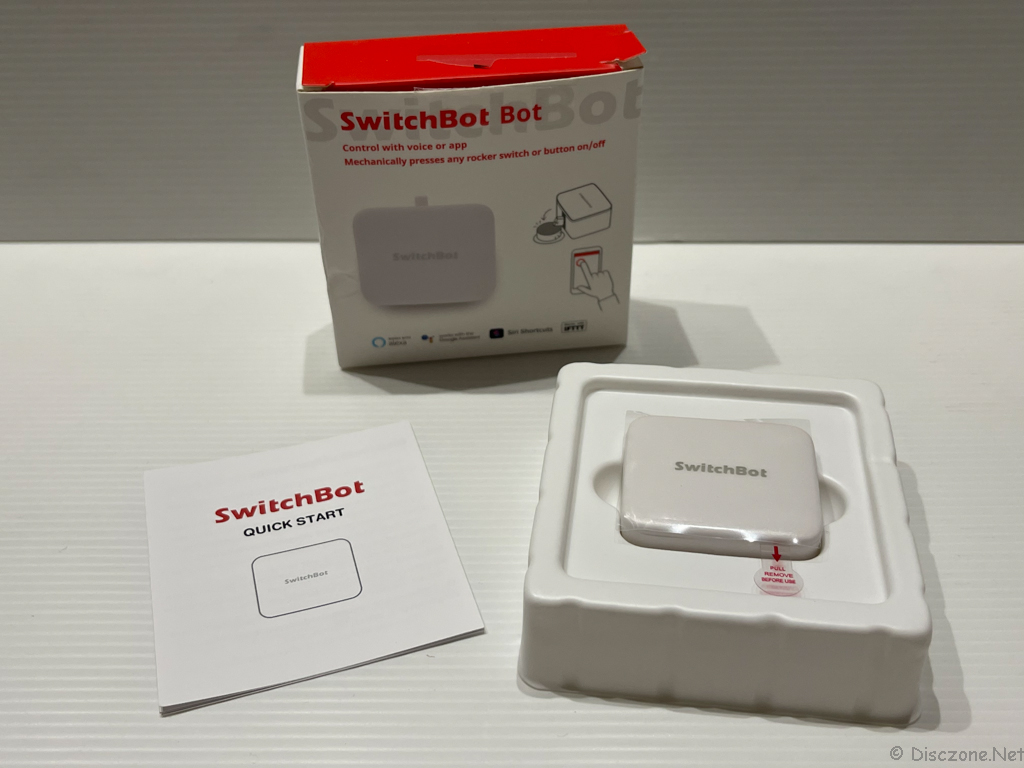 SwitchBot Bot – Contents
 SwitchBot Bot – Quick Start Guide
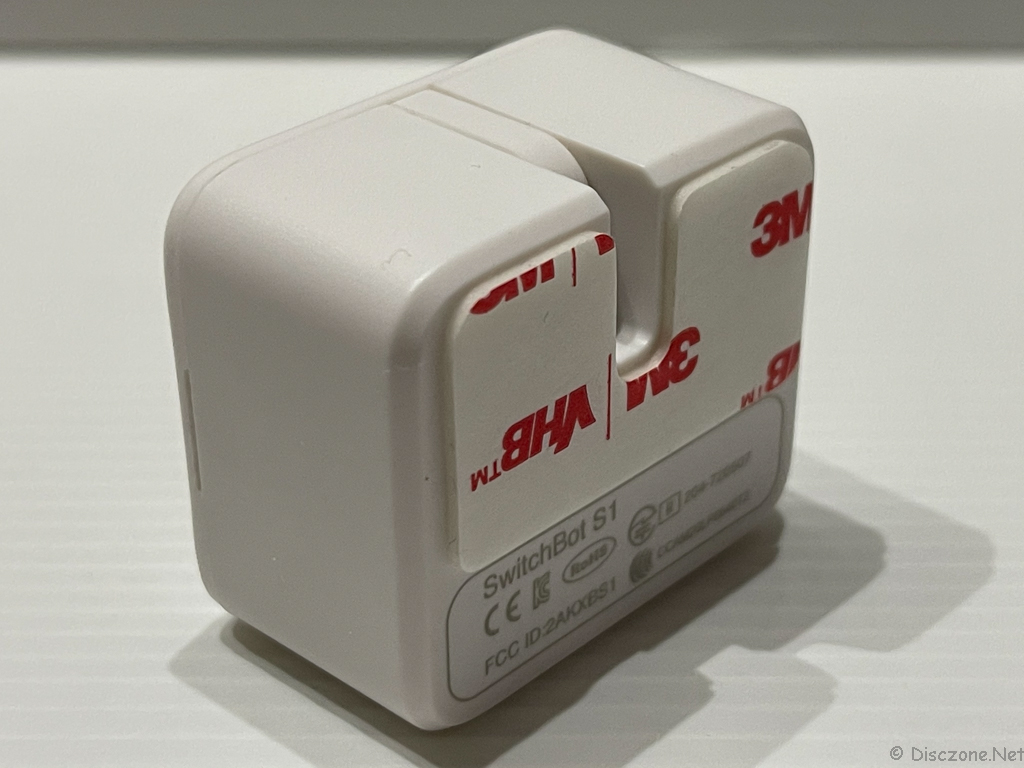
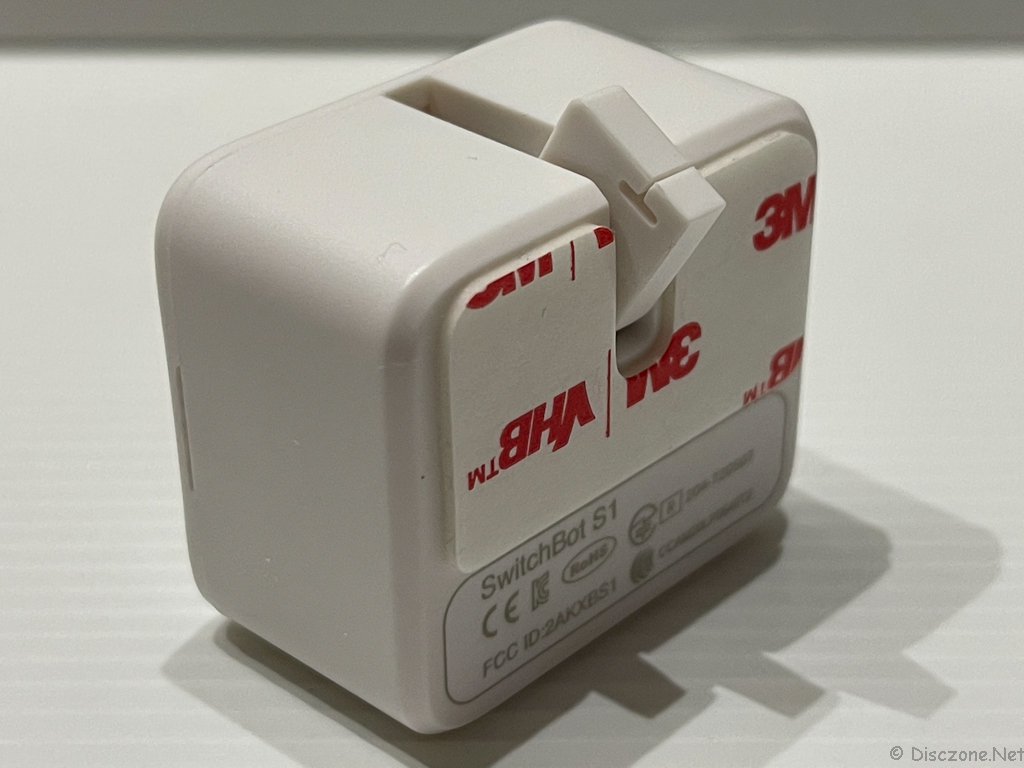
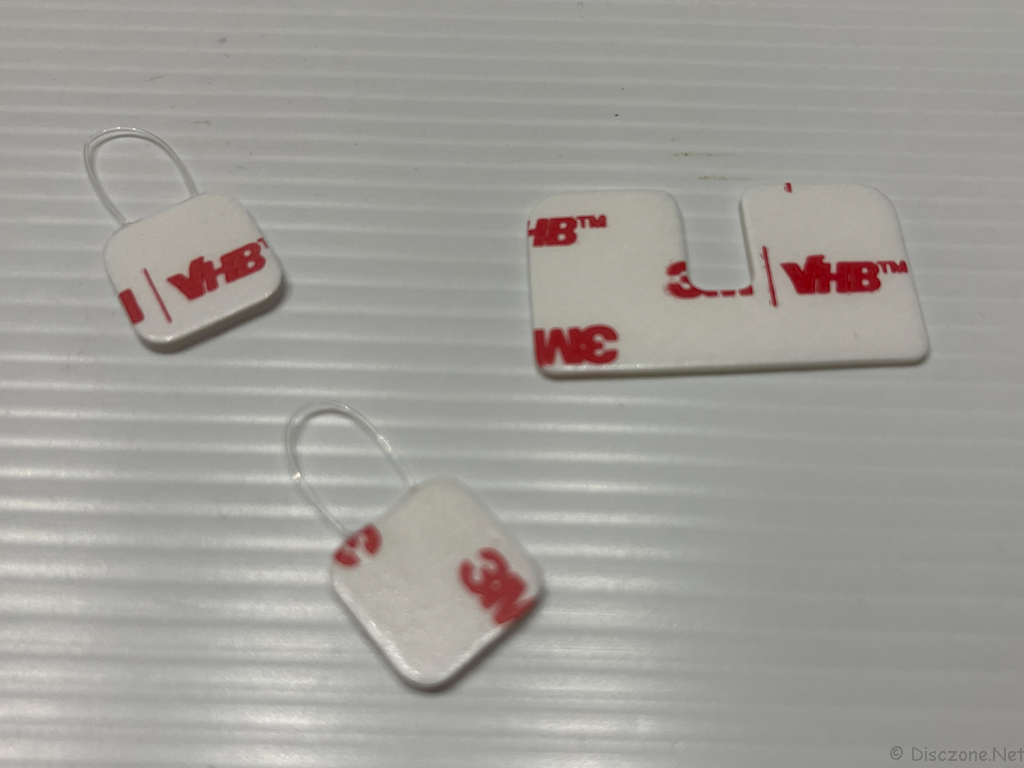 SwitchBot Bot – Extra Stickers
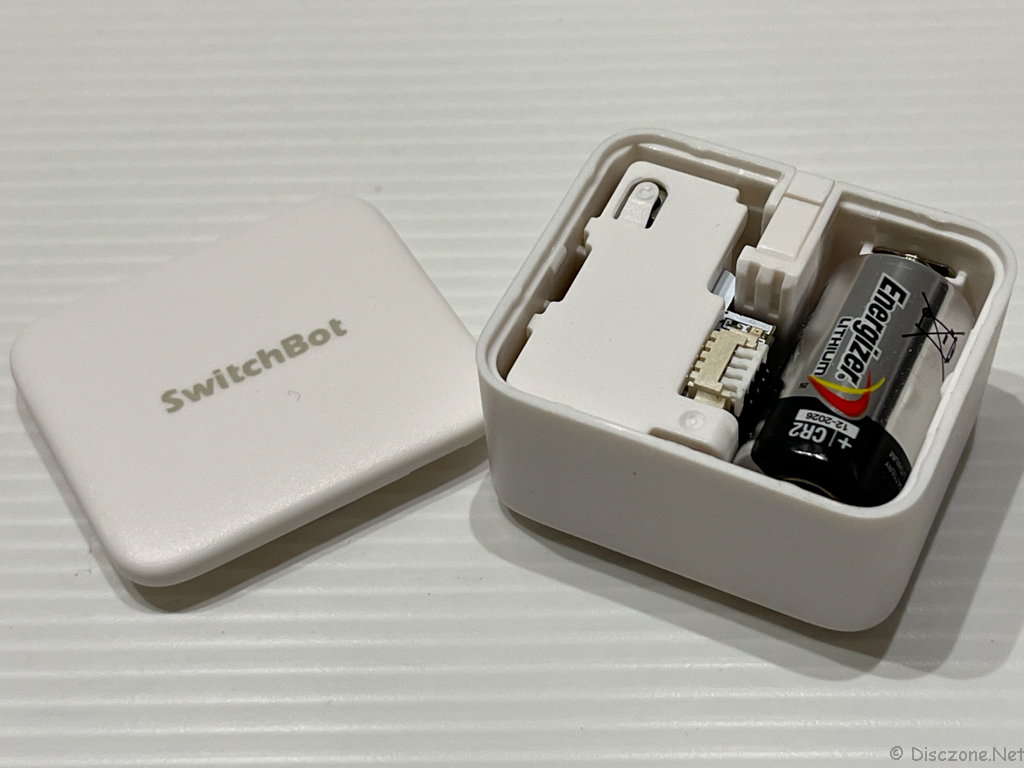
The idea behind the design of the SwitchBot Bot is actually very simple. Basically, the SwitchBot Bot is just something that receives a signal/instruction to activate a mechanical arm to move, in turn, touching or pressing something or pulling something when it retracts further back. Hence, when you take a closer look at the arm of the SwitchBot Bot, it will lean forward beyond itself when it received the signal and the small T slots on its arm will pull the plastic thread back when a retract signal is received. On the inside of the SwitchBot Bot, half of the inside is occupied by the mechanism while the big cylindrical CR2 3V battery. I assumed that the SwitchBot Bot designers when of the CR2 to provide the capacity required to not change the SwitchBot Bot‘s battery so often. Nevertheless, though not commonly seen on devices, the CR2 battery should be available in most neighborhood hardware stores.
 SwitchBot Bot itself! So cute and tiny.
 SwitchBot Bot – Rear
 SwitchBot Bot – Internals
 SwitchBot Bot – Arm Retracted
 SwitchBot Bot – Arm Extended
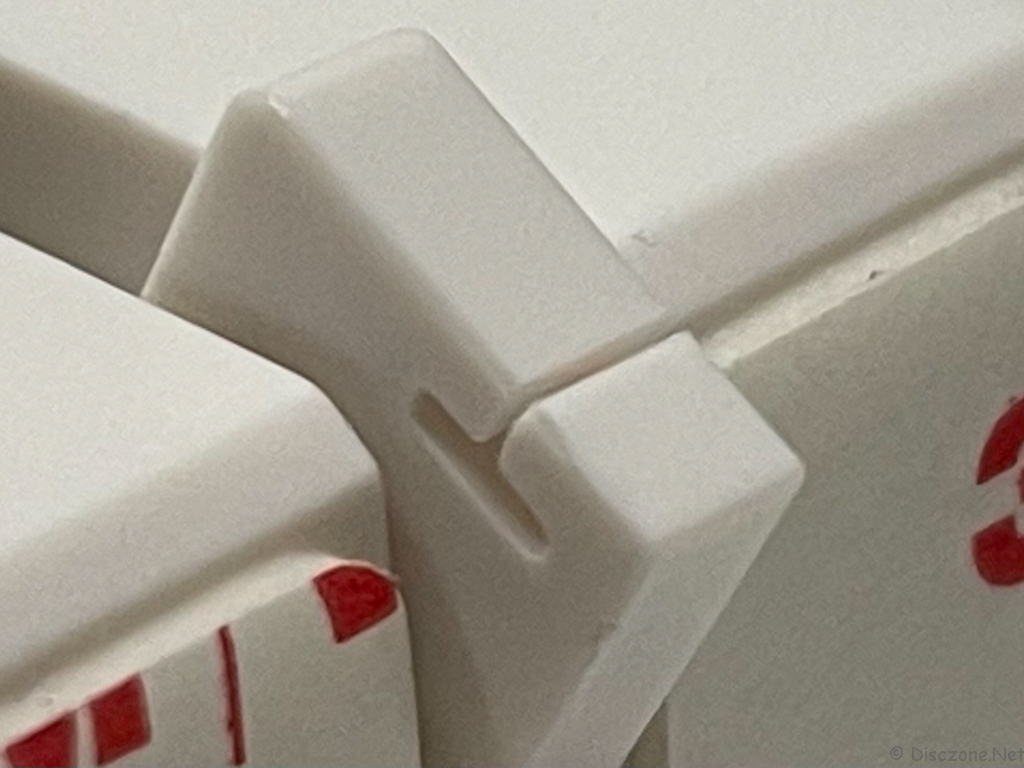 SwitchBot Bot – Close up of Arm
Software
After looking at the physical devices, let’s look at the SwitchBot mobile app that is used for all SwitchBot devices. The app is available on both iOS and Android platforms in their respective App Stores. After downlink and installing the app, you will need to register for an account as per most if not all cloud-based tools and apps nowadays. You will need to enable Bluetooth on your device as well as SwitchBot devices works on Bluetooth. The app itself is very simple, with just three tabs at the bottom. “Home” is where will add, see and interact with all your SwitchBot devices. “Scene” for creating automation and their logs and “Profile” for your account-related information. Under Profile -> Preference, there isn’t much to set, just the default language, unit of temperature and a useful toggle for the “Disable Bluetooth Status Reminder”.
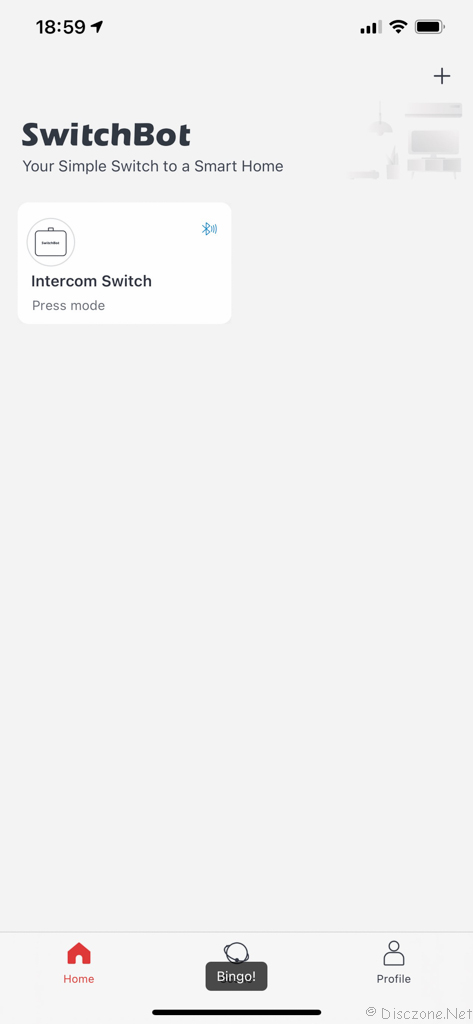 Main Screen of SwitchBot App
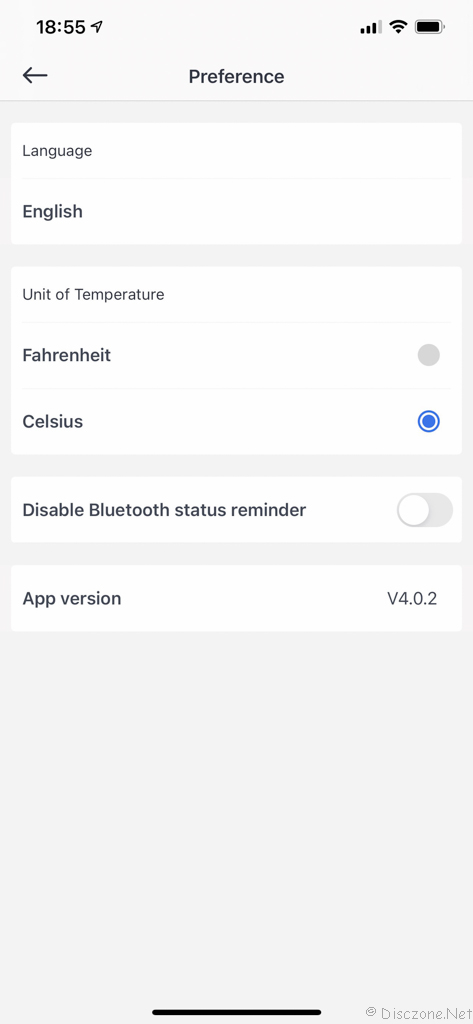 Preferences that you can set
To add new devices to your account, you just need to click on the “+” sign on the home page of the app. More than often, the newly (or reset) SwitchBot device will be automatically detected and appear in your app for you to add on.
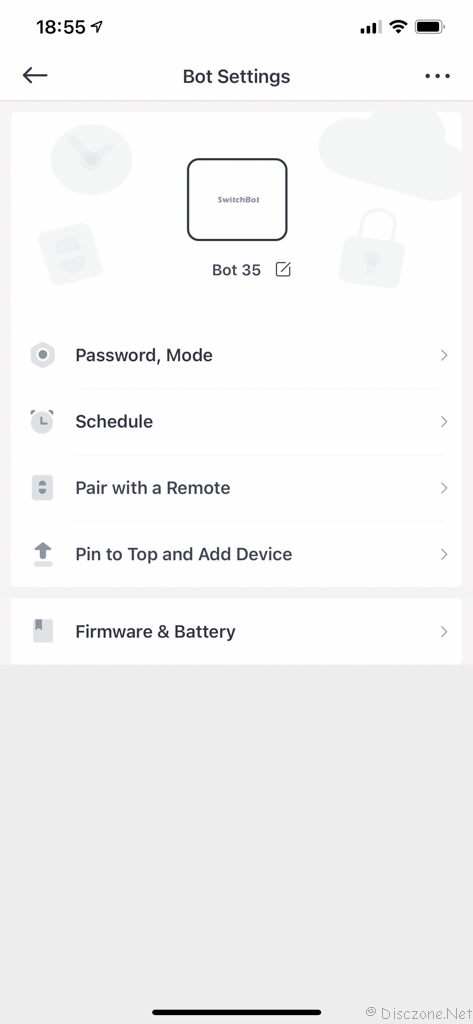
For the SwitchBot Bot device, the options should be intuitive enough to for any novice to know how to use the app and device. The only thing I would like to highlight is the “Mode” of the SwitchBot Bot. If you need it to behave like a toggle switch, the mode will be “Press Mode” and you will be able to also set the length of time you want the press to make. Usually, I leave it a 1 second. If you want to use it as a switch with an On-Off position, the mode will be “Switch Mode”. With this, the SwitchBot Bot will press and hold in the ON position and retract when the OFF position is required. Do take note of these and use the mode you need for your scenario. For accessibility via the internet, you will need to set up and connect the SwitchBot Bot with your Hub or Hub Mini under the “Cloud Service” option. You can also use the SwitchBot Bot with a remote under the “Pair with a Remote” option. Simple right?
 dWhen adding a new SwitchBot Bot device
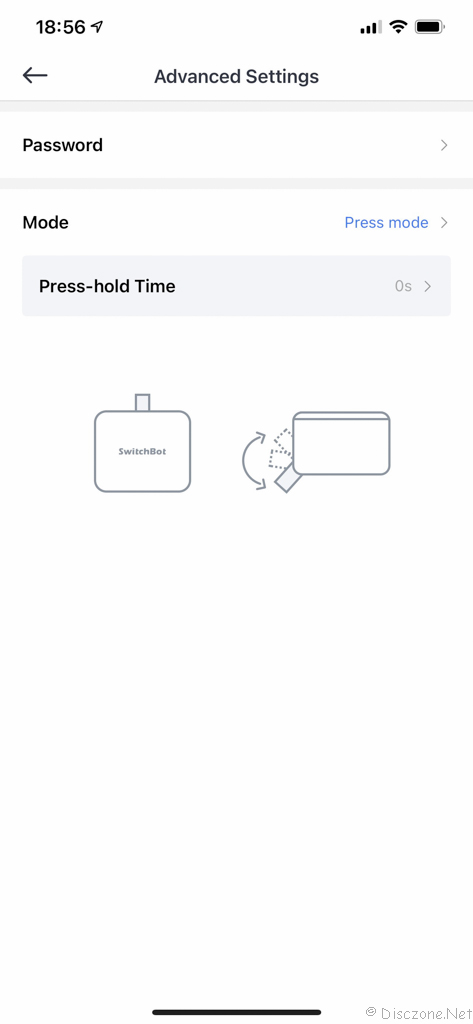 Press vs Switch Mode
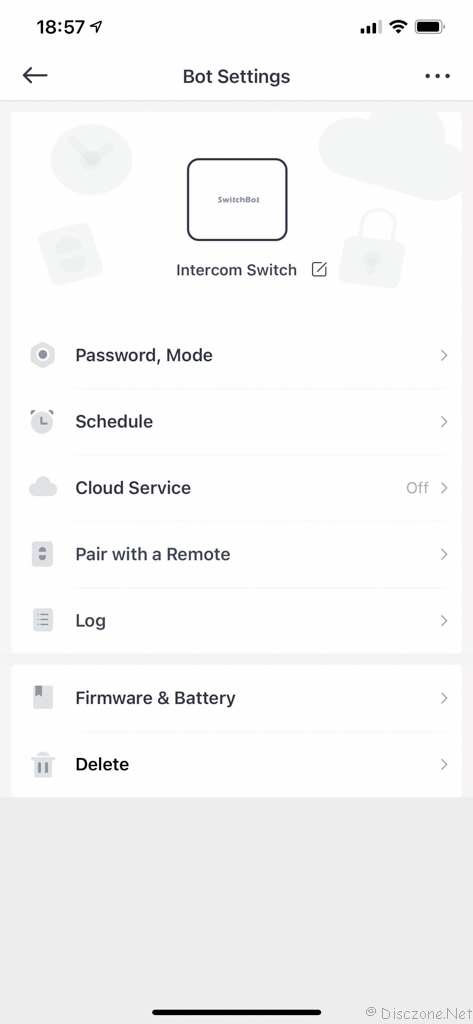 Connect to Hub Mini via Cloud ServiceS
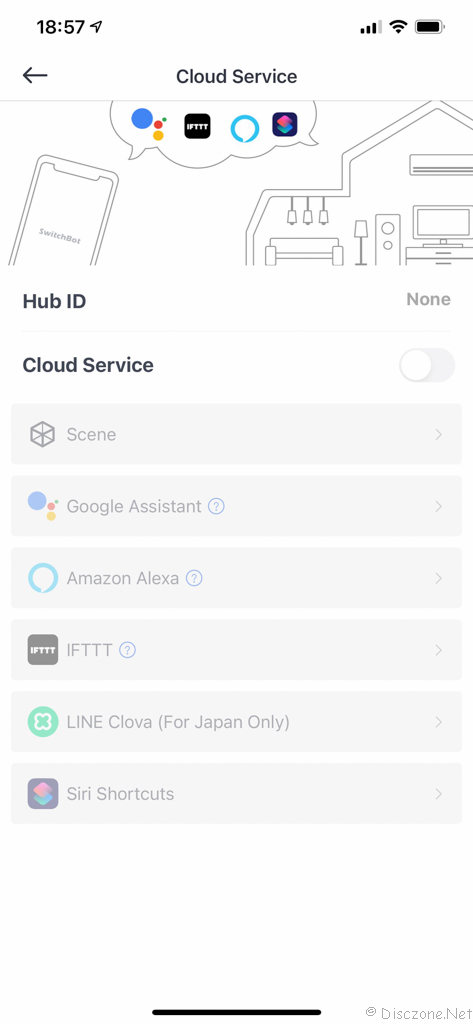
Cloud Services available
Once the settings are done, you will be able to directly interact with the SwitchBot Bot within the “Home” tab, pressing the device tile to toggle the SwitchBot Bot actions.
Testing
To test out the SwitchBot Bot, I attached 2 of the SwitchBot Bots to 2 types of switches. The first is a 20A water heater wall switch that can be found in almost all Singapore homes (public or private housings) and the second onto my Sharp Air Purifier and Ioniser. The water heater switch will need the SwitchBot Bot to be in the “Switch” mode while the SwitchBot Bot will operate the Sharp Air Purifier in the “Press” mode.
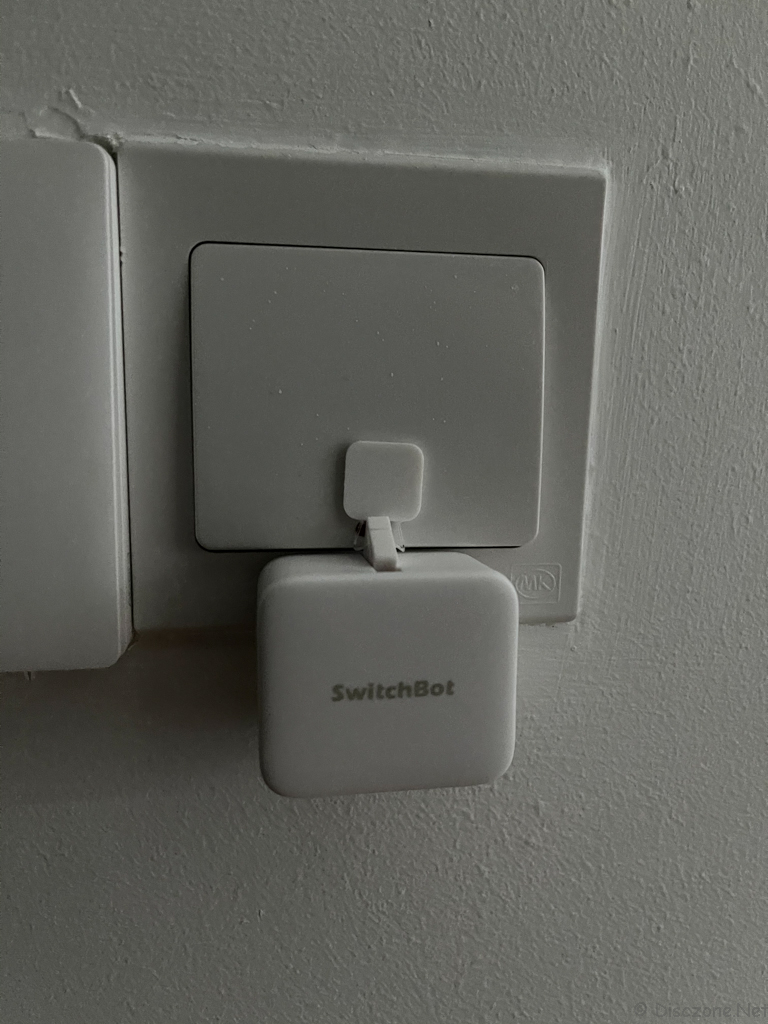 To turn on / off my Water Heater switch
To install the SwitchBot Bot onto the Water Heater Wall Switch, I would need to attach the pull-back mechanism to the SwitchBot Bot‘s arm. It will need a little hard tug to put the string of the pull back mechanism into the slot on the SwitchBot Bot‘s arm. After some trial and error, I found that this sequence of installation is the more correct one. Step 1, make sure the wall switch and the SwitchBot Bot are both in the OFF mode. Step 2, stick the SwitchBot Bot onto the base of the wall switch while making sure the arm will be able to swing smoothly onto the rocker of the wall switch. Step 3, stick the pad of the pullback mechanism firmly onto the rocker of the wall switch while holding the rocker firmly in its OFF position. This sequence should be able to correctly install the SwitchBot Bot properly to be able to operate in the “Switch” mode.
Something I encountered with the SwitchBot Bot on my Water Heater wall switch is that I realized that my Water Heater wall switch is too stiff and the SwitchBot Bot‘s arm does not have enough strength to push the rocker at all. I moved the SwitchBot Bot to another light switch and it seems to operate just fine. Hence it seems that there is a limit on the pressure the SwitchBot Bot‘s arm can exert. I’ll update here again if I can find out this limit from the OEM.
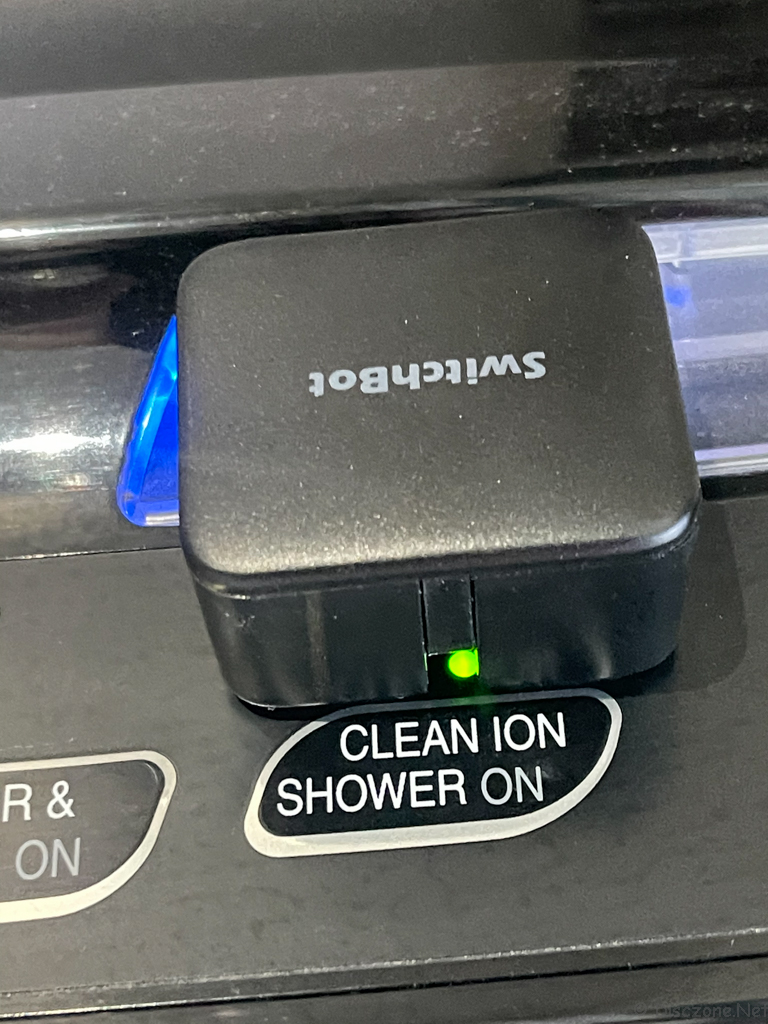 Making my SHARP Ioniser smart!
To install the SwitchBot Bot to operate properly on the Sharp Air Purifier is much easier. Just need to position the arm of the SwitchBot Bot close to the soft button you want the army to press on will do. Don’t forget to set the “Press Hold” time that you need the SwitchBot Bot to press and hold onto the soft button for it to activate properly. For my case, I left it at the default as it seems to work fine.
Verdict
The SwitchBot Bot is really a very simple and direct means of converting non-smart devices and contraption into something that fits in a smart home world. The setup is simple and direct but do has its limitations in the usage scenarios. Paired with its other accessories in the SwitchBot family, it opens up more usabilities. The price of a SwitchBot Bot is quite reasonable and even more when the SwitchBot Online Store has discounts or promotions. I would certainly recommend the use of SwitchBot Bot for Smart Home starters. I’ll write more on its other family members in my upcoming blogs. Do look out for them.