This is the third and final part of my review of the D-Link Wireless Router DIR-890L and D-Link Systems DWA-192 AC1900 Ultra Wi-Fi USB 3.0 Adapter. The first can be found here while the second part is here.
In this final installment of my review, I’ll focus on the setup of the D-Link Wireless Router DIR-890L and a simple test to compare the speed of it when connected to the Starhub Fibre Broadband compared with the ASUS RT-AC68U Wireless-AC1900 Dual-Band Gigabit Router. Let’s start with the setup of the D-Link flagship AC3200 router first.
The physical setup of the D-Link Wireless Router DIR-890L is quite simple. Just need to connect up the power brick and also RJ45 cable from your broadband device to the WAN port of the router, power on and you’re in business. To config the router, you can either connect a PC or notebook to any of the available LAN ports or use the default Wi-Fi details provided at the bottom of the router to connect wirelessly to the router. Usually I’ll go for the former method. However, this time round I’m lazy and went for the second technique using the new D-Link Systems DWA-192 AC1900 Ultra Wi-Fi USB 3.0 Adapter.
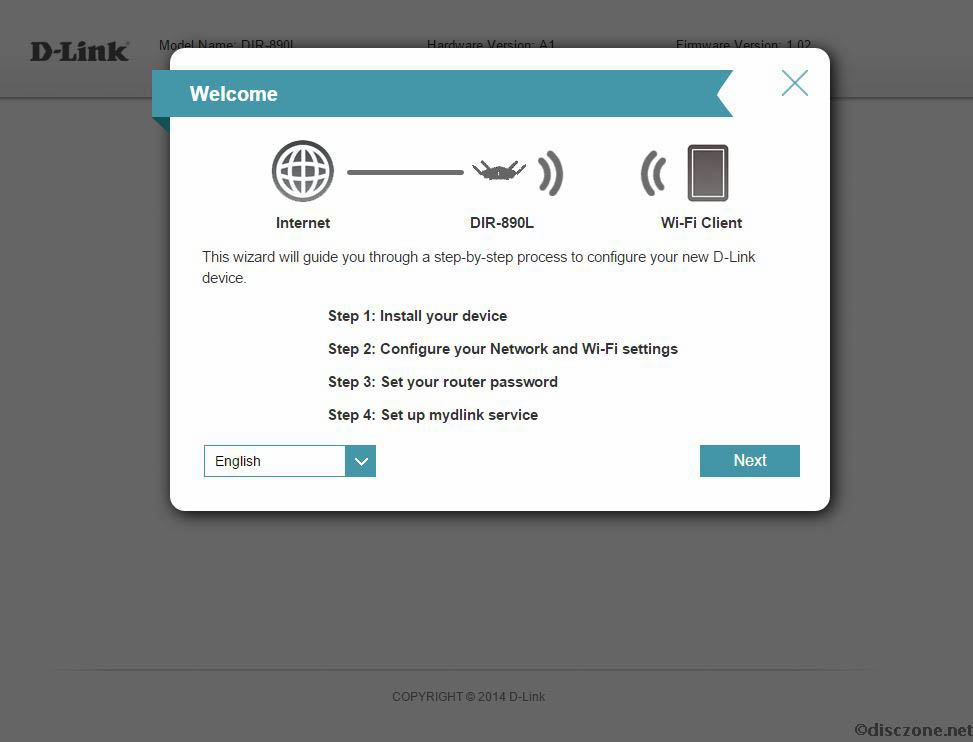
Once you connect to the newly connected D-Link Wireless Router DIR-890Ld, launch a browser, key in the gateway IP address and you should be presented with the following Welcome screen to start the wizard which will guide you through the simple, step-by-step configuration of the massive router.
The first step would be the to connect the router with your broadband device. Do take note that it should be connected to the WAN port which is YELLOW in color and labelled “INTERNET”.
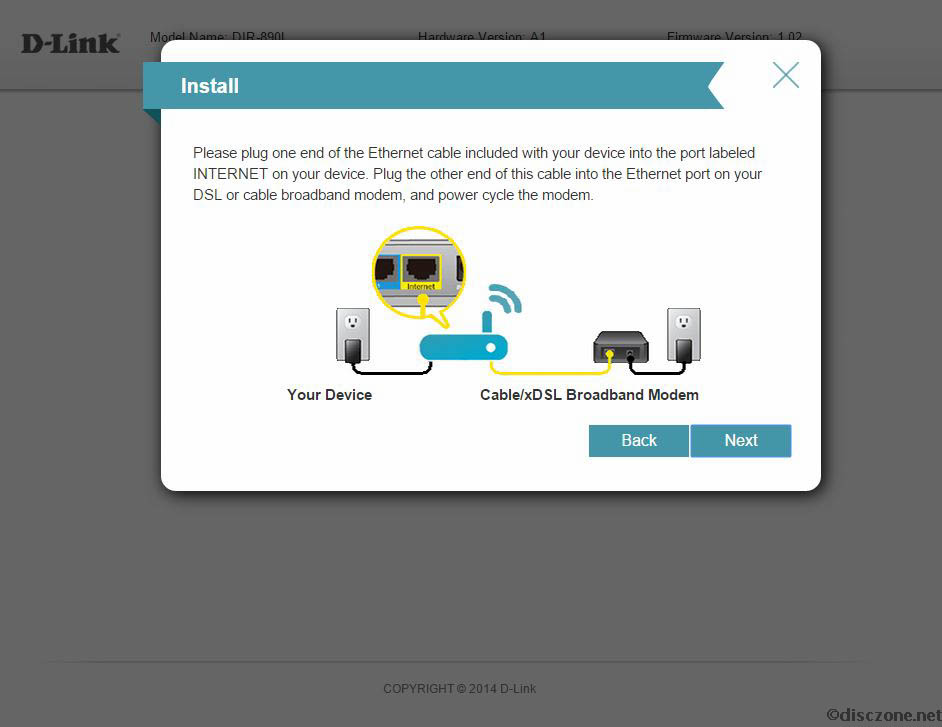
Once you click Next, the router should auto detect and configure the internet connectivity.

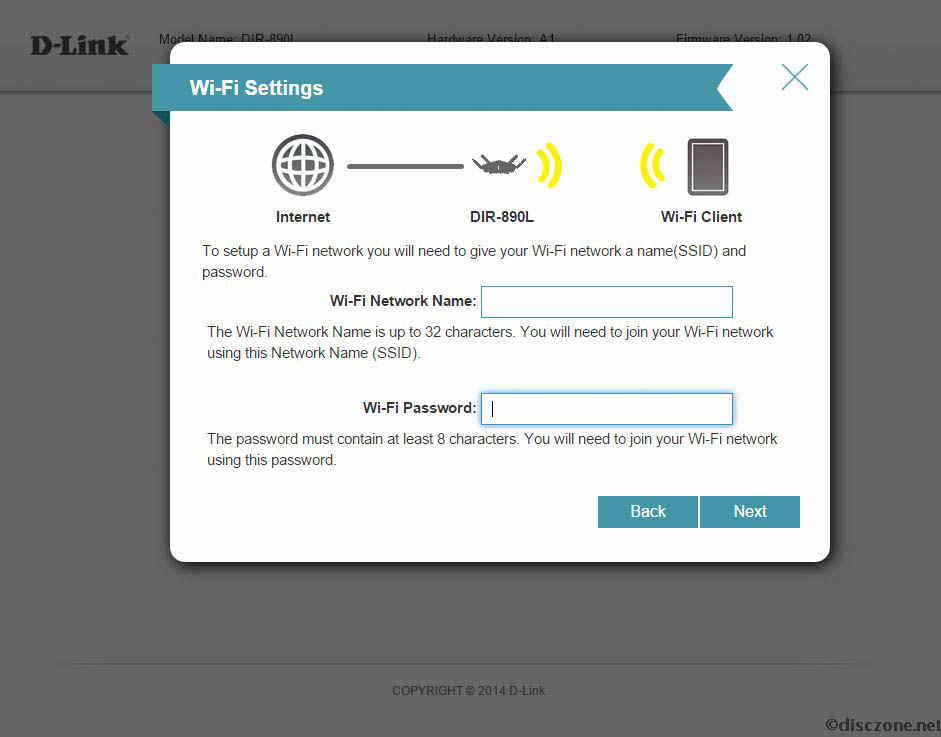
The next step would then be to configure the SSID and password for your WiFi Network. Notice that it does not specify anything about the band of the WiFi or the type of encryption to be used. Maybe for normal users these are just technical jargon……
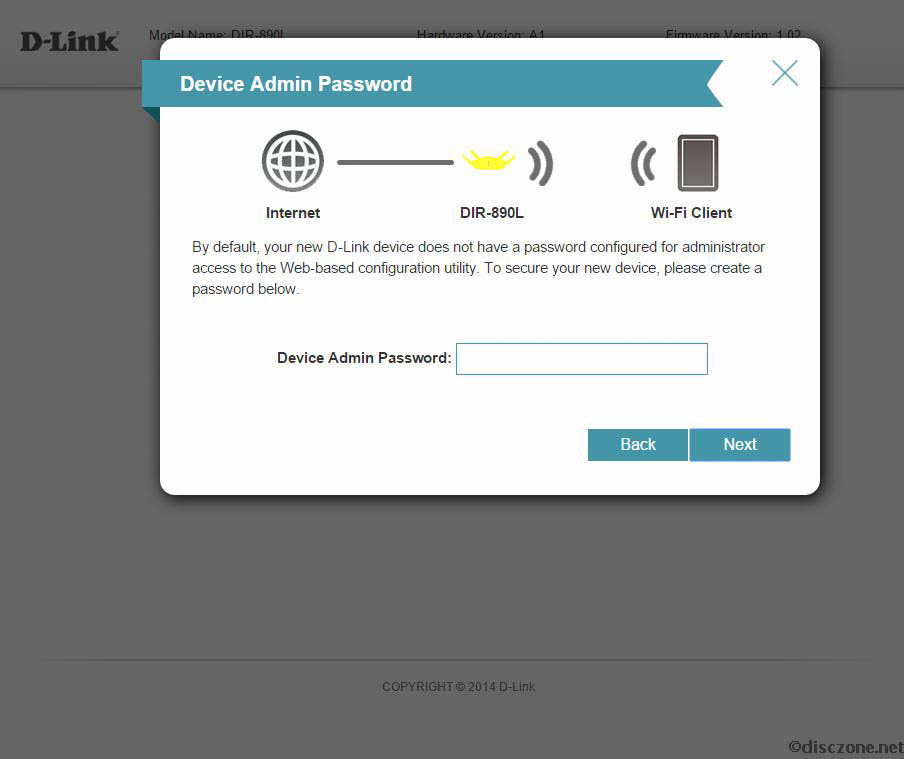
Weirdly enough, the next step after setting up the WiFi configuration is to specify your administrative password to the router, something I would think should be done earlier in the setup? Or maybe it’s just me.. 🙂
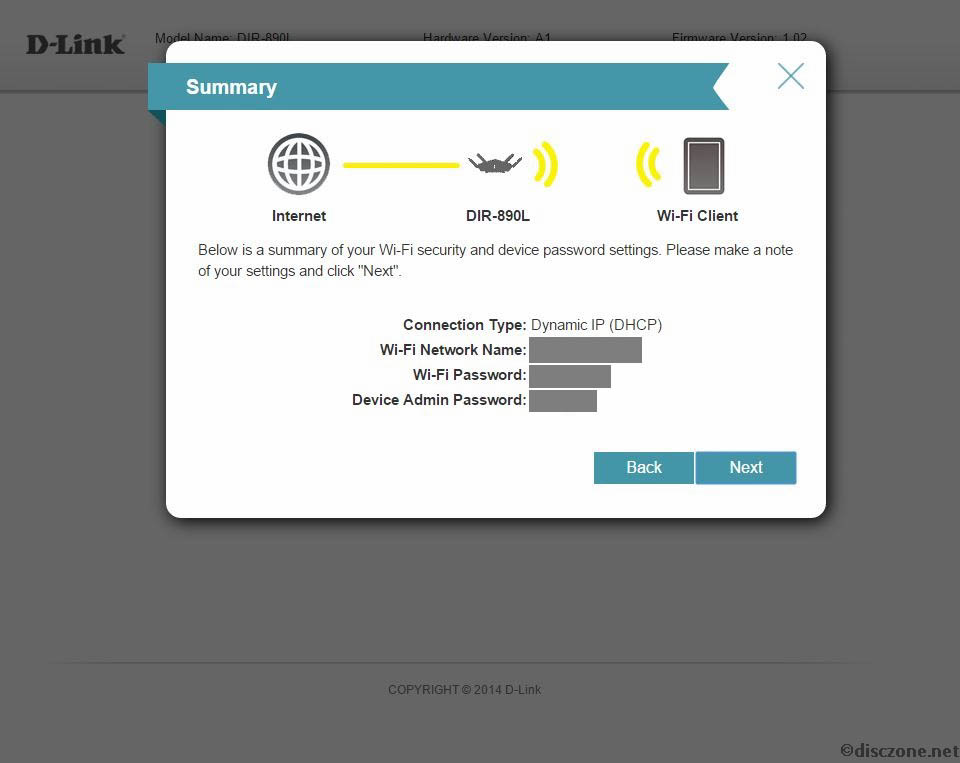
The next screen that comes along would show a little summary of the settings you have entered in the previous steps. Once again, my personal opinion would be that the password fields should be some how masked just in case you are doing this setup with someone overlooking your shoulder. This is again important if you are using your usual passwords in this case. :p
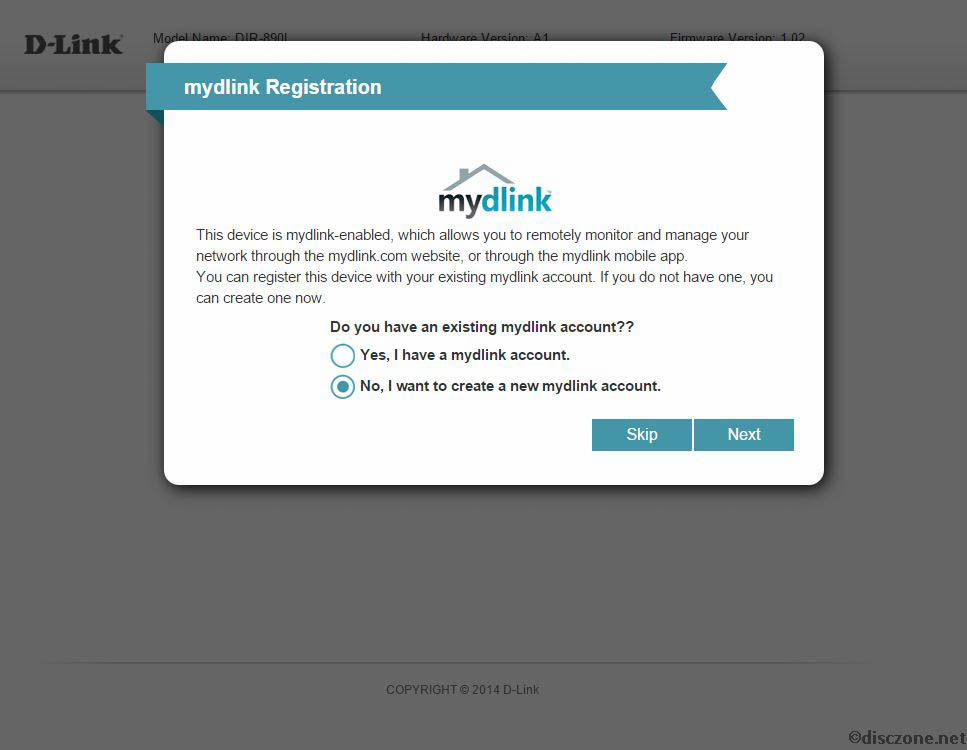
The next step would allow you to link the router to your mydlink account so that you can see and remote manage it via the mydlink mobile app. For this, you can skip it if this is not important to you.
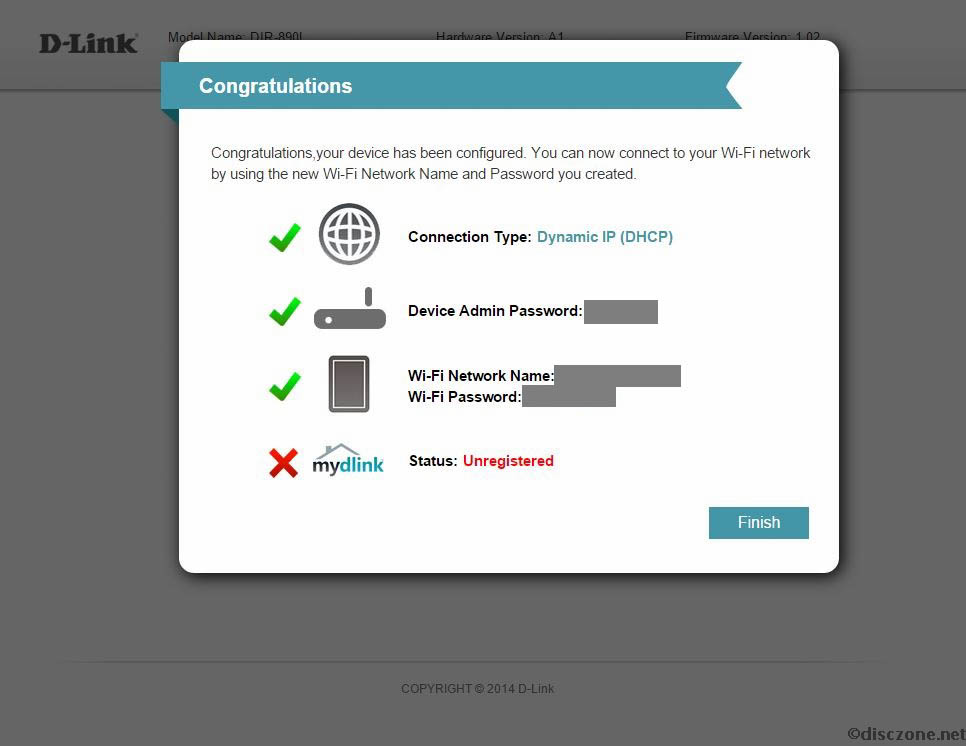
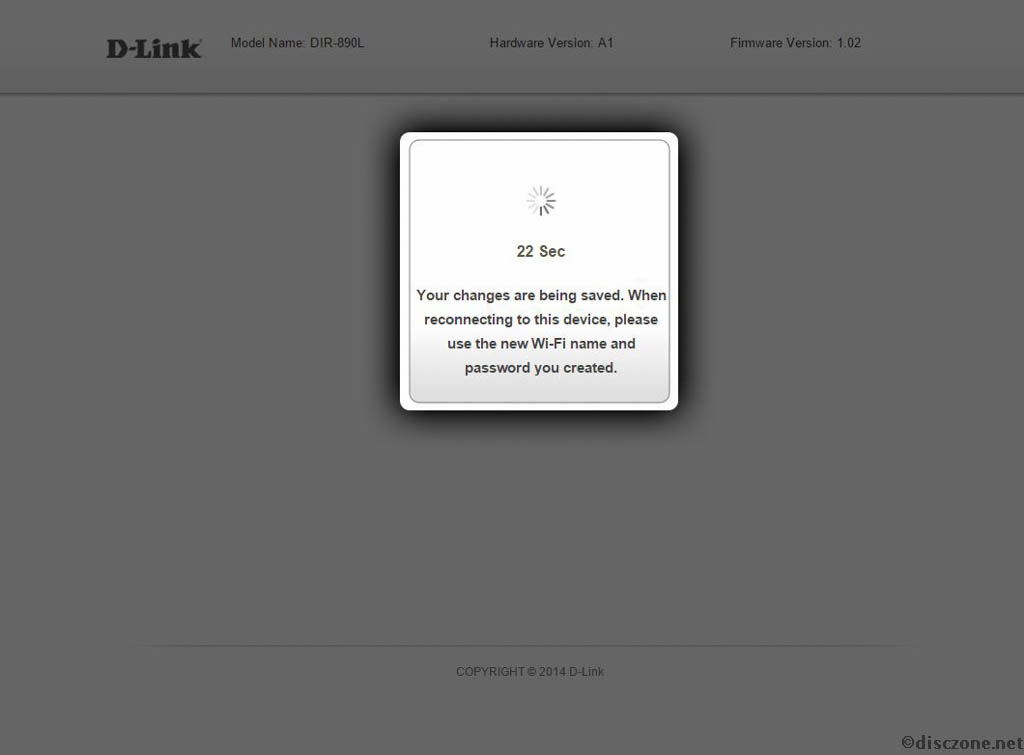
One more summary screen and a final click on the Finish button in this screen, the router should proceed with the necessary setup and reboot itself.
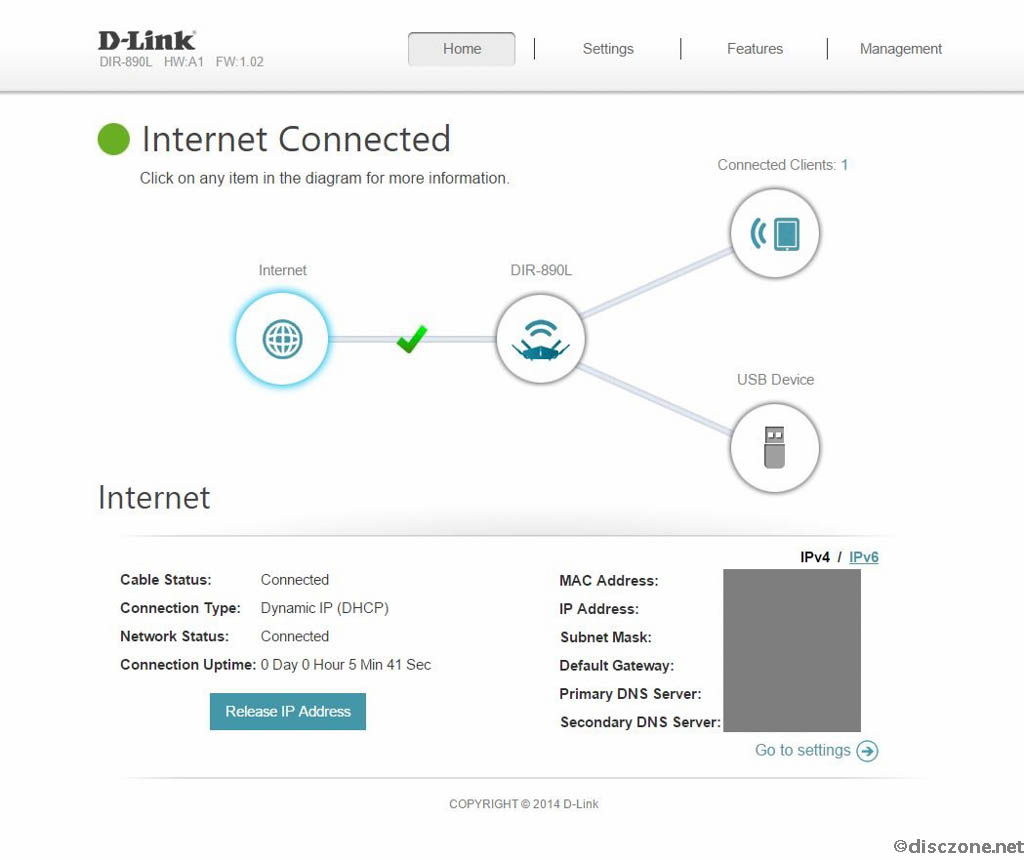
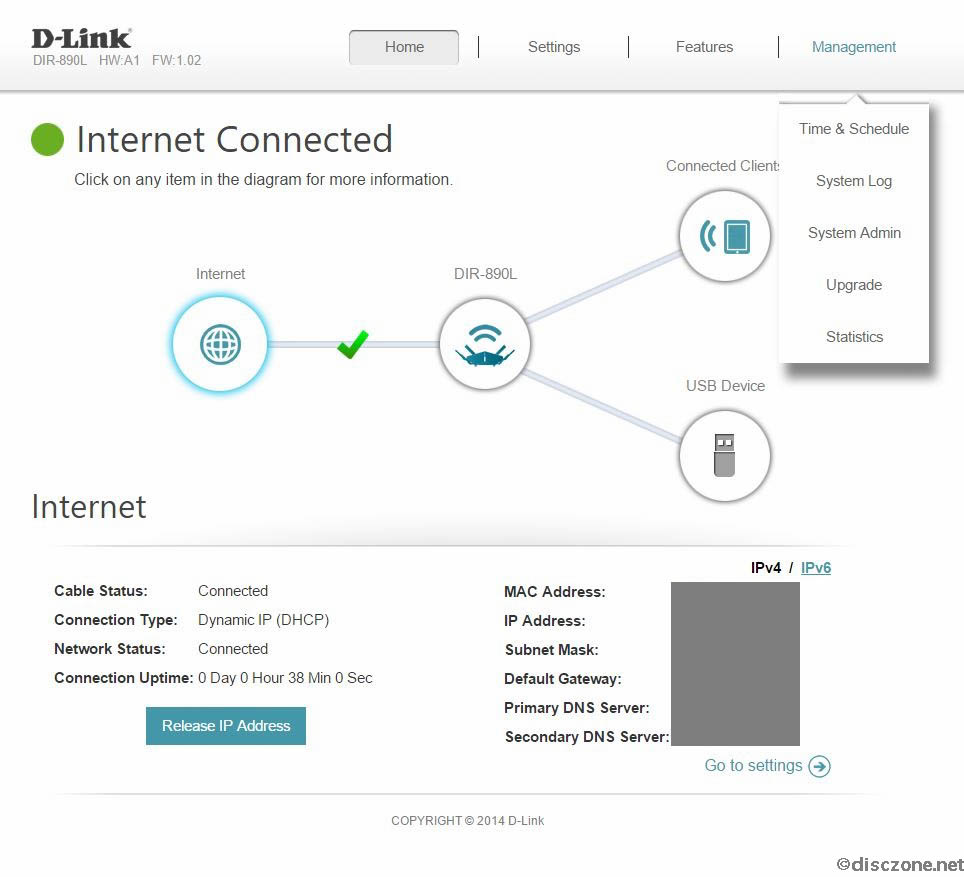
After the configuration is completed, do remember to re-connect to the new WiFi network if you are on the router’s factory default WiFi during the previous configuration. Upon successful connection to the new WiFi network, relaunch a browser and go to the router’s or gateway’s IP address again. You should be able to see the following screen showing the overall status of your new WiFi network. From this screen, you are see the your connectivity status to the internet, the number of clients connected to the router and also any USB devices (for example, storage, printers, 3G dongles) that are connected.
If you are not a hard-core technical person or a super duper control freak, you should be able to start using your new router immediately. However, this state-of-the-art router certainly can do more than what I have just showed you. Below are just some screen shots of the menu options you can play around with.
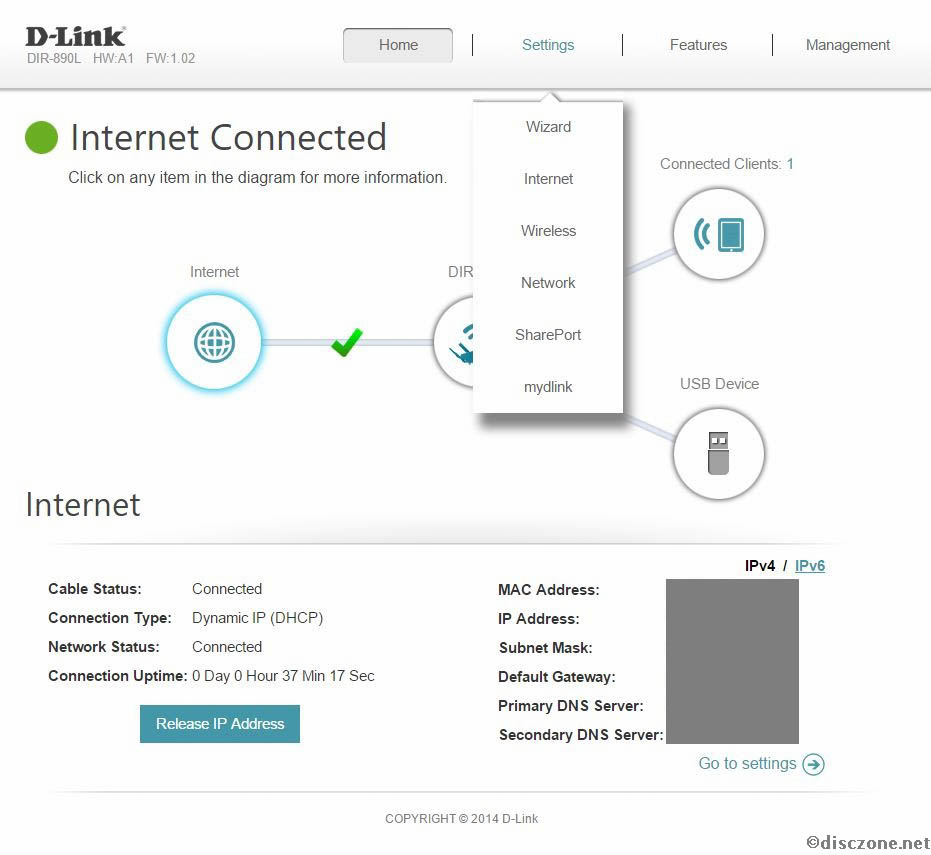
Under Settings, there are options for detailed configuration of the wireless network, LAN as well as D-Link’s SharePort features to allow sharing of USB storage devices attached to the router. The configurations for monitoring this router using the MyDLink cloud services can also be found here.
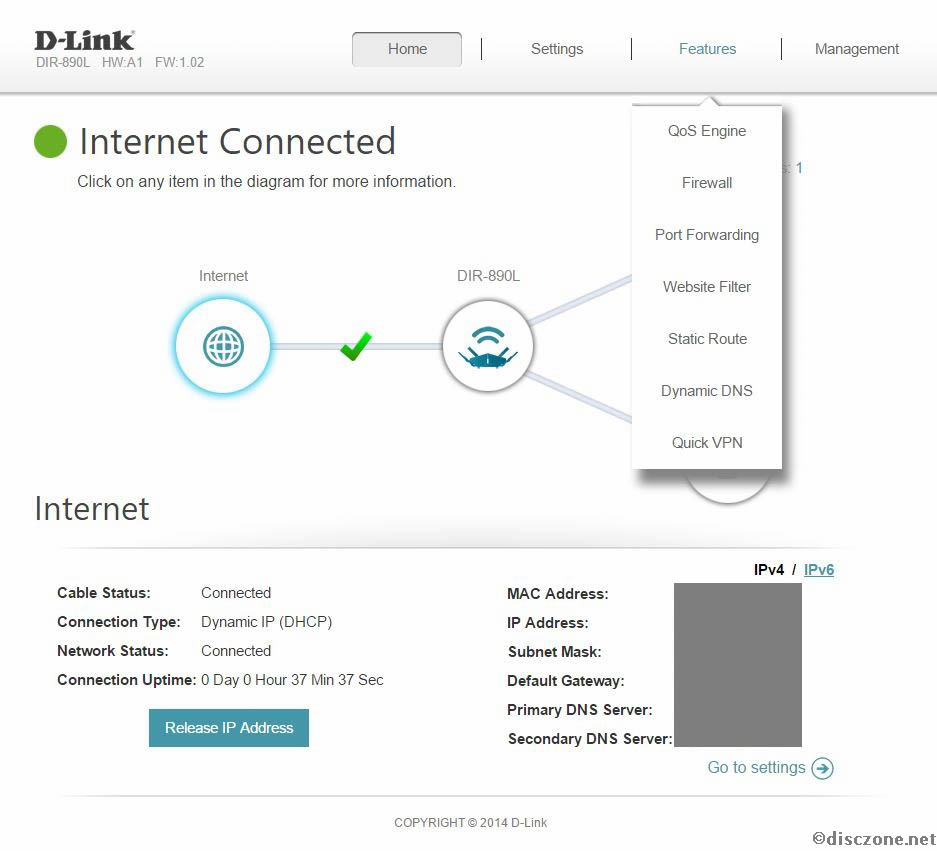
If you are a even more power users, other configurations such as QoS, Firewall, Port Forwarding can be found under the Features tab.
Last but not least, the last tab, Management, contains the miscellaneous features of the D-Link Wireless Router DIR-890L.
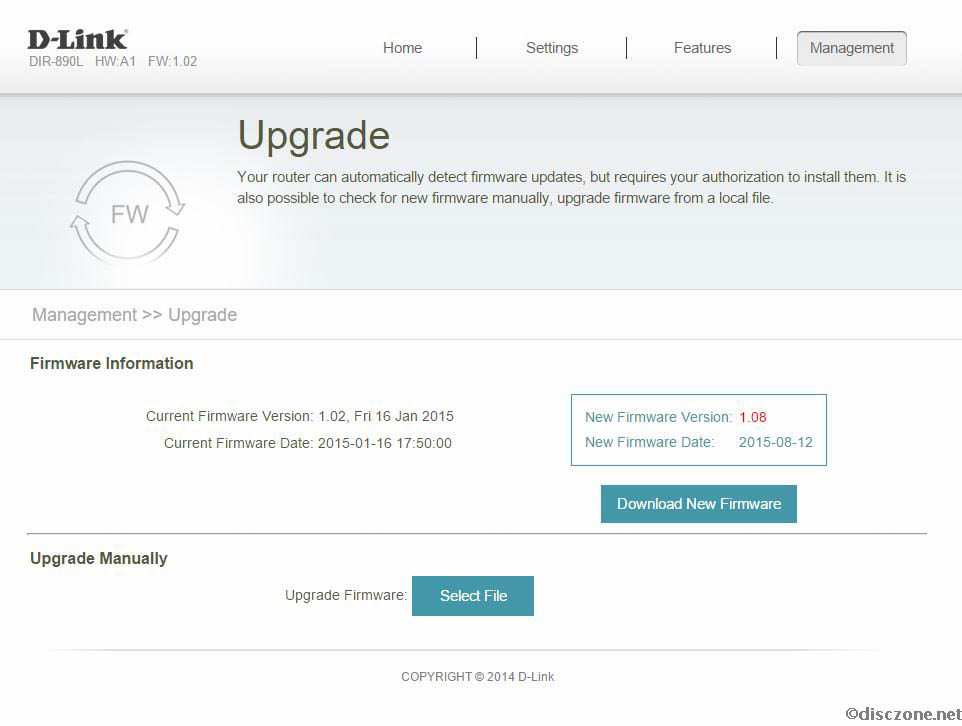
One of the important features to take note here is the “Upgrade”. This is where you will be able to upgrade the firmware (or in layman’s terms, the software) of the router. At this point when I’m writing this review, the latest version of the firmware is 1.08. Do take extra care when downloading any router firmwares by verifying the model and even the hardware revision of the router.
With the basic setup of the router completed, I took the chance to do some quick test of the connection speed between the D-Link Wireless Router DIR-890L and the D-Link Systems DWA-192 AC1900 Ultra Wi-Fi USB 3.0 Adapter using the default feature of SmartConnect on the router. Below are the connection details and speed test results.

Based on the results, it seems that the D-Link Wireless Router DIR-890L does provide about 15% improvement in both upload and download speeds compared to using my old router. For the details of the test results using my old router, please see my last post.

Another thing to note is the coverage of the new D-Link Wireless Router DIR-890L. Using my iPhone as a test device, I realised that I’m now able to receive the WiFi signals even in areas that my previous router signal could not reach. Now with a single D-Link Wireless Router DIR-890L, I’m able to cover my whole place (about a HDB 5 room size of 110 square metres) with at least 2 bars on the iPhone. This is really something exciting as now I do not have to depend on my WiFi repeaters to help boost my WiFi signals at home.
As this review article is getting a bit lengthy, I’ll conclude now by saying that the D-Link Wireless Router DIR-890L is indeed a worthwhile device to invest to improve the WiFi signal coverage. The improvements from the better user interface in the router firmware also makes it easier for novice to very quickly setup and configure the router. Coupled with the D-Link Systems DWA-192 AC1900 Ultra Wi-Fi USB 3.0 Adapter will provide you with the ultimate experience in WiFi connectivity.
On the down side, if the antennas of the router are removable or change be changed, it would give options for advanced users to switch to others for better signals or experiments. Secondly, the shape of the router is a bit odd and can only be positioned in one way. As such, it would be a challenge to mount this router if you have space constraints.
P.S. I’ll try to cover more on the other features of the router firmware and results of coverage testing in my next writeup.